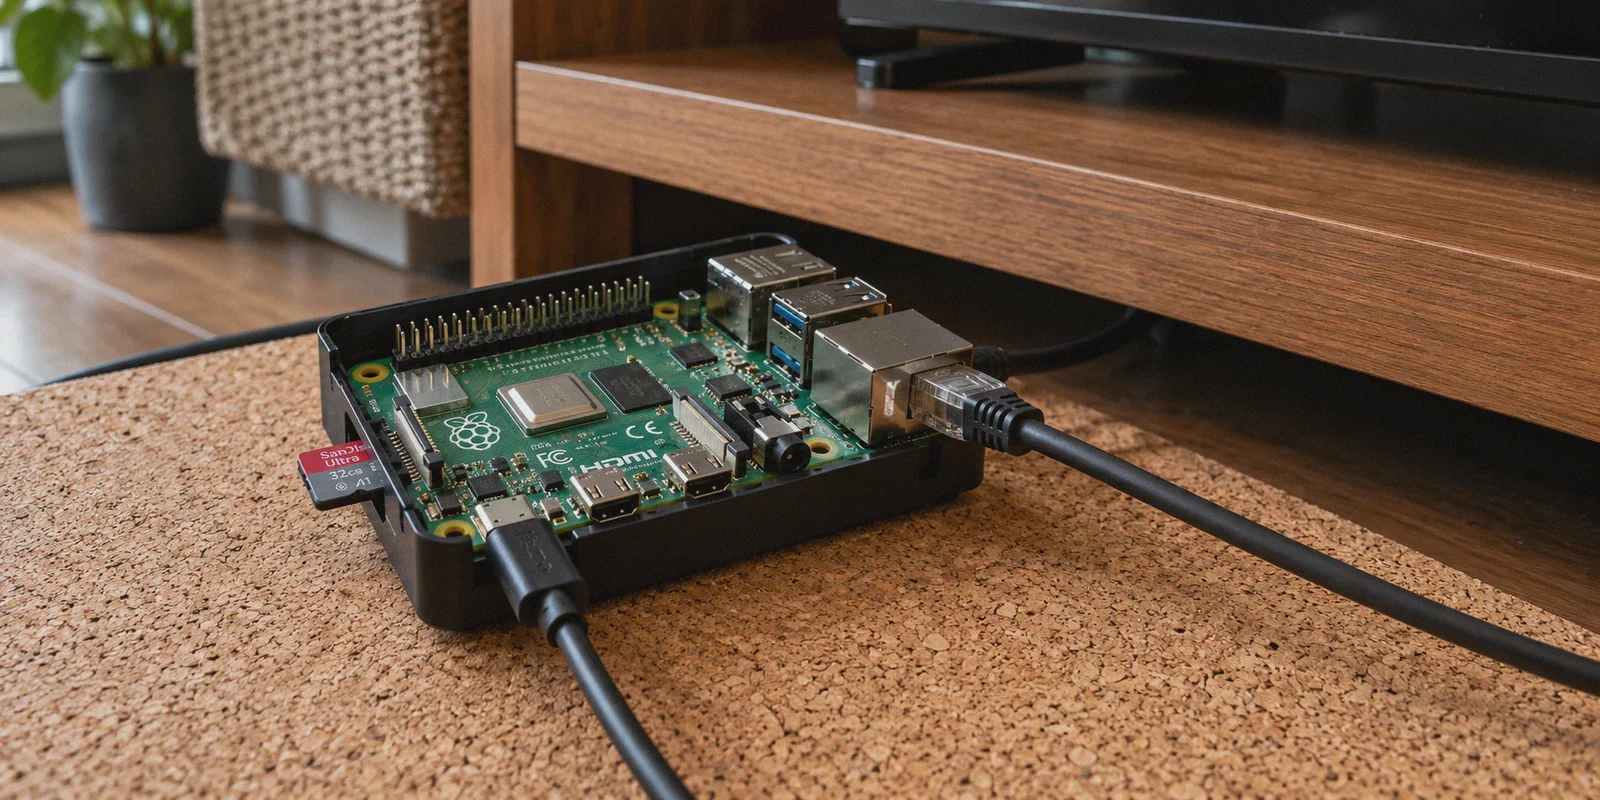
You probably have a Raspberry Pi sitting on a shelf somewhere, left over from an old retro gaming kick or a home automation project. And at some point this week, looking at your Apple TV, your smart TV, your gaming console, and the three phones on your home Wi-Fi, you had that classic DIY realization:
Why install VPN apps on five different devices when I can just turn this tiny green board into a dedicated hardware VPN gateway?
The pitch sounds brilliant on paper. You plug the Raspberry Pi into your router, route your entire home subnet through an encrypted tunnel, and suddenly every device in your house—even the ones that don’t support VPN clients—gets seamless privacy, bypasses geo-blocks, and blocks ads at the network level.
It feels like the ultimate weekend networking victory.
Before you spend your Saturday writing iptables rules and wondering why your TV suddenly refuses to load video, it pays to understand what that build actually entails, where it quietly breaks down, and what your options look like when all you really wanted was an effortless, house-wide setup.
Article summary and product fit
What does a Raspberry Pi VPN gateway require, where does it become fragile, and when is a software VPN client less maintenance?
The article walks through IP forwarding, a VPN tunnel, NAT masquerading, a kill switch, and client gateway changes, then highlights real-world tradeoffs such as single-NIC throughput, microSD fragility, protocol blocking, and the limits of DNS-only ad filtering.
Key points and limits
- Best for: Home-network hobbyists deciding whether to build a Raspberry Pi gateway or use a simpler client-based setup.
- Core mechanism: A working Pi gateway needs forwarding, tunnel configuration, NAT/firewall rules, leak protection, and client devices pointed at the Pi as their gateway.
- Product fit: OnlyDogs VPN is presented as the lower-maintenance option for readers who care more about easy streaming, filtering, and network recovery than about maintaining a Linux gateway.
- Important limit: The article still recommends the Pi route for learning, custom routing, and users who genuinely want a hardware gateway project; a software client is not the same architecture.
Sources in this article: No independent external source link is used in the body for this topic. Product source: OnlyDogsVPN official website.
What Building a Pi VPN Gateway Actually Takes
To give the DIY route fair credit: it is entirely doable if you have terminal experience. If you’re determined to build it yourself, the basic architecture requires five specific steps.
[Smart TV / Apple TV / PC]
           │ (Gateway: 192.168.1.50)
           ▼
   [Raspberry Pi 4]
   ├── IP Forwarding (`net.ipv4.ip_forward=1`)
   ├── VPN Tunnel Client (`wg0` or `tun0`)
   └── NAT Masquerade (`iptables -t nat -A POSTROUTING`)
           │
           ▼ (Encrypted WireGuard / OpenVPN Tunnel)
     [Home Router] ───► [Internet]
- Operating System & Network Prep: You flash a fresh copy of Raspberry Pi OS Lite onto a microSD card, boot it headless, assign the Pi a static local IP address (say,
192.168.1.50), and enable IPv4 forwarding inside/etc/sysctl.conf: Bash
net.ipv4.ip_forward=1
- Client Tunnel Configuration: You install WireGuard or OpenVPN tools (
sudo apt install wireguard), generate your public/private key pairs, and paste your provider's configuration block into/etc/wireguard/wg0.conf. - NAT Masquerade & Packet Routing: You configure
iptablesso that any inbound packet hitting the Pi from your local network gets translated and forwarded out through the virtual VPN interface: Bash
sudo iptables -t nat -A POSTROUTING -o wg0 -j MASQUERADE
sudo iptables -A FORWARD -i eth0 -o wg0 -m state --state RELATED,ESTABLISHED -j ACCEPT
sudo iptables -A FORWARD -i eth0 -o wg0 -j ACCEPT
- Kill-Switch Implementation: You write a firewall script to drop all traffic if
wg0disconnects, preventing your devices from silently leaking unencrypted packets to your standard ISP gateway. - Client Redirection: Finally, on your Apple TV, smart TV, or PC, you open the network settings, switch the IP configuration from DHCP to Manual, and change the Default Gateway and DNS Server fields from your home router’s IP to your Raspberry Pi’s IP (
192.168.1.50).
If you do all five steps correctly, your device is now routing its traffic through the Raspberry Pi.
Then Monday evening arrives, and reality sets in.

The Three Traps Reddit Tutorials Rarely Mention
Most tutorials end right after the terminal outputs wg0: UP. They don’t talk about what happens during real-world domestic use.
1. The Single-NIC Throughput Tax and Hardware Fragility
Unless you bought an industrial Pi kit with dual Gigabit Ethernet ports, your Raspberry Pi 4 is operating as a "router-on-a-stick."
Every packet your TV streams has to enter the Pi’s single Ethernet port, get encrypted in software by the quad-core ARM processor, and exit right back through the exact same physical port to reach your router. That immediately cuts your theoretical local bandwidth in half. On a Raspberry Pi 3, where Ethernet shares internal bandwidth with the USB 2.0 bus, throughput frequently caps out around 70 to 90 Mbps.
Worse is storage wear. A gateway constantly writes DHCP leases, connection logs, and DNS lookups. The moment someone accidentally pulls the power plug to plug in a vacuum cleaner, an open write operation can corrupt the microSD card. When that happens, your gateway dies—and because your family's devices are pointed at it for DNS, the entire living room loses internet access until you reflash the card.
2. The Protocol Fingerprinting Wall
The biggest reason people set up a gateway for their smart TV is to watch international streaming catalogs on Netflix, Disney+, BBC iPlayer, or Hulu.
Here is the problem: standard WireGuard and OpenVPN implementations have well-documented packet structures. When you route a TV through raw OpenVPN or WireGuard protocols into typical public VPN datacenter nodes, streaming algorithms flag the connection within seconds. You sit down with a bowl of popcorn, launch an episode, and get greeted with:
"Pardon the interruption. You seem to be using an unblocker or proxy."
Standard protocols don't disguise what they are. They encrypt data, but they openly broadcast that they are VPN tunnels. Once an ISP or a streaming CDN identifies the handshake signature, you are throttled or flat-out blocked.
3. The Pi-hole DNS Illusion
Many builders stack Pi-hole onto their VPN gateway, expecting an ad-free experience across the board.
Pi-hole is an exceptional DNS sinkhole, but modern advertising has moved past simple domain lookups. Platforms like YouTube now serve video ads from the exact same CDN domains and IP clusters as the actual video content. A DNS filter has no visibility into what is inside the data stream; it only sees the domain request. If it blocks the domain, the entire video breaks.
You end up inheriting all the latency and routing overhead of a hardware gateway, while still sitting through two back-to-back unskippable ads before every video on your smart TV.
What Did You Actually Want in the First Place?
Take a step back. You didn't start this project because you have a deep emotional attachment to debugging iptables forwarding chains at 10 PM.
You wanted four simple things:
- Protection and region-switching for screens and consoles that don’t have native VPN apps.
- Whole-home ad and tracker filtering that genuinely works on video platforms.
- High-speed streaming that doesn't trigger "proxy detected" errors.
- A connection that doesn't collapse and turn you into an unpaid household tech support agent whenever Wi-Fi fluctuates.
If you enjoy the maintenance ritual of Linux networking as a hobby, a custom Pi setup is fun. But if you just wanted the result—the seamless, zero-maintenance gateway experience—modern software has evolved far beyond running a home server.
This is precisely where OnlyDogs VPN takes a fundamentally different engineering approach.
A Better Way: Getting the Gateway Effect Without the Hardware Burden
Instead of asking users to configure routing tables and manage fragile home micro-servers, OnlyDogs VPN bakes the benefits of an optimized gateway directly into a purpose-built client architecture.
Here is how it answers the specific friction points of the DIY Pi route:
1. Scenario Presets Instead of Manual Config Swapping
On a Pi gateway, switching from a low-latency gaming connection to a UK streaming profile means downloading separate .conf files, stopping services, swapping keys, and restarting network daemons.
OnlyDogs replaces configuration files with one-click scenario presets:
- Fastest Route: Auto-routes traffic to the lowest-latency edge server for high-speed browsing and downloads.
- Streaming Mode: Automatically directs your traffic through residential-aligned nodes engineered specifically to bypass proxy detection on major video services.
- Aggressive Ad Blocking: Engages deep network filtering immediately.
- Multi-Device Sharing: Bridges your connection across household hardware effortlessly, without complex manual port forwarding.
You select the task you want to accomplish, and the client manages the underlying routing logic behind the scenes.
👉 Explore OnlyDogs VPN scenario presets and features
2. HTTP/3 & Traffic Obfuscation (Beating Deep Packet Inspection)
While standard OpenVPN and WireGuard configurations announce their protocol signatures to anyone monitoring the pipe, OnlyDogs uses HTTP/3 architecture with built-in traffic obfuscation.
By disguising encrypted packets as standard HTTPS web traffic over UDP (HTTP/3), it slips straight past deep packet inspection (DPI) engines and aggressive ISP throttling. This protocol design was tested in heavily restricted network environments like Dubai, Russia, and China—meaning standard residential ISP filters and streaming CDNs cannot easily fingerprint or block your stream.
3. Deep Filtering: DNS + Node-Level Ad Scrubbing
Unlike a Raspberry Pi running basic DNS sinkholes, OnlyDogs combines DNS blocking with node-level traffic filtering.
Because filtering happens dynamically at the server node level before packets hit your device, it can dissect and strip in-stream video ads—including web trackers and intrusive YouTube pre-rolls—without breaking the video player itself. It even features a live block counter in the interface, showing you exactly how many tracking requests and junk scripts were neutralized during your session.
4. Seamless Network Recovery (No Broken Gateways)
When a home router blips or a device shifts between Wi-Fi and mobile data, a DIY Raspberry Pi gateway often hangs or leaks unencrypted packets until manually rebooted.
OnlyDogs is built with a resilient handshake mechanism designed for weak and fluctuating networks. If your connection stumbles, it recovers instantly in the background without dropping your session or requiring you to SSH into a box to restart services.
5. Multi-Platform Support with Frictionless Login
Rather than hacking static IPs onto every family device, OnlyDogs offers native clients across Windows, macOS, Android, and iOS.
It also does away with standard password management. Instead of digging through password managers across five screens, it uses passwordless email verification codes to authenticate. You get fast access, consistent cross-platform performance, and minimal credentials floating around.
The Verdict: Keep the Pi, or Make the Switch?
| Feature / Scenario | DIY Raspberry Pi VPN Gateway | OnlyDogs VPN |
|---|---|---|
| Setup Time | 2–4 hours of terminal work | 2 minutes (Download & Click) |
| Hardware Required | Raspberry Pi, SD card, Power supply, Ethernet cables | None (Runs on existing devices) |
| Throughput | Often limited by single-port bus & ARM CPU | Full fiber-line speeds via HTTP/3 |
| Streaming Access | Frequently flagged as proxy by Netflix/Disney+ | Dedicated streaming scenario presets |
| YouTube Ad Blocking | Fails (DNS cannot filter in-stream video ads) | Succeeds via combined DNS + node filtering |
| Maintenance | High (SD corruption, manual updates, kill-switch maintenance) | Zero (Automated updates & weak-network auto-recovery) |
If your primary motivation is the joy of tinkering—if you genuinely want to learn how packet forwarding works in the Linux kernel and you don't mind fixing your family’s connection when an update breaks—by all means, build the Raspberry Pi gateway. It is a fantastic educational project.
But if your goal was simply to enjoy unrestricted streaming, kill ads across every screen, and give all your household devices rock-solid privacy without babysitting a hardware box, skipping the DIY headache is the smarter move.
👉 Try OnlyDogs VPN today and get the high-speed, ad-free connection your home setup was supposed to have from the start.
Frequently Asked Questions
What are the basic building blocks of a Raspberry Pi VPN gateway?
The article lists a static Pi address, IPv4 forwarding, a WireGuard or OpenVPN client tunnel, NAT masquerading and forwarding rules, a kill switch, and client devices configured to use the Pi as their gateway and DNS path.
Why can a single-network-interface Pi become a bottleneck?
The article describes a router-on-a-stick design where traffic enters and leaves through the same interface while the Pi also performs software encryption. That adds throughput pressure and creates a single hardware point of failure.
Why does adding Pi-hole not necessarily remove in-stream video ads?
The article explains that DNS filtering works by blocking domains, while some video platforms deliver ads and content from overlapping domains or CDN infrastructure. In those cases, a DNS-only block cannot distinguish the ad payload from the video payload.
Who should still build the Pi gateway instead of choosing a simpler VPN client?
The article favors the Pi for people who enjoy Linux networking, want to learn packet forwarding, or need custom gateway behavior. It recommends the simpler path mainly for readers who want the result without ongoing hardware and routing maintenance.