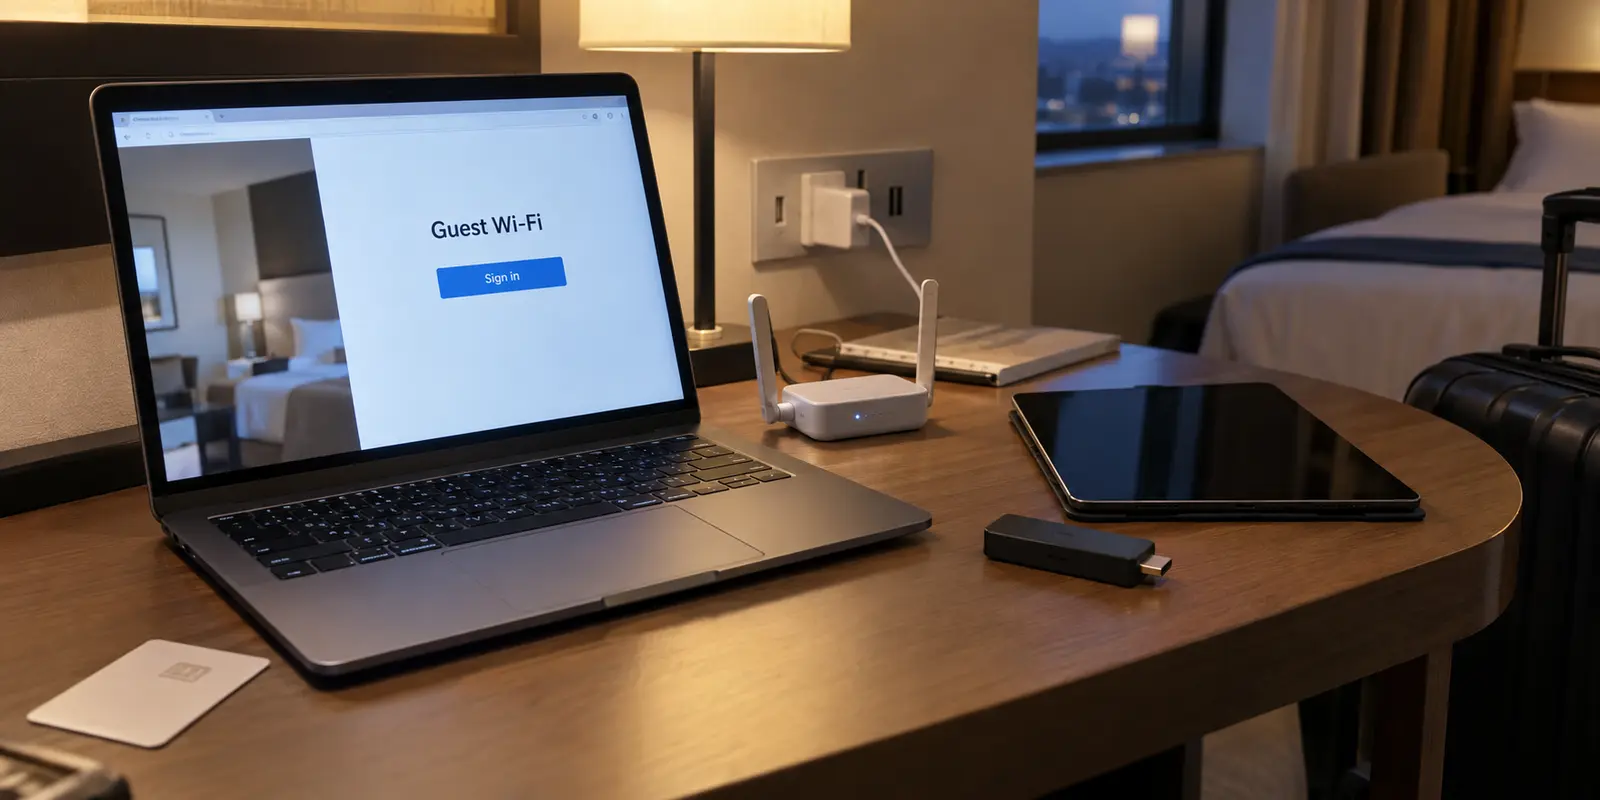
You unpack your bags, plug your sleek little travel router into the hotel desk outlet, and smile. The pitch was simple: buy this pocket-sized gadget, log into the hotel Wi-Fi once, and instantly blanket the room with a private network for your laptop, phone, tablet, and streaming stick.
Ten minutes later, that tidy picture falls apart.
You connect your laptop to the router’s Wi-Fi, and the hotel login page pops up. You fill in your room number and surname, and the laptop gets online. But the moment you pick up your tablet, the exact same hotel splash screen appears. Then you boot up your streaming stick, which lacks a full web browser entirely, and it sits marooned in offline limbo.
Your immediate instinct might be to assume the hotel has outsmarted your router, or that you need to dive into complex terminal settings and MAC address tricks.
In reality, nothing is wrong with the hotel’s captive portal. Your travel router was simply handed the wrong job from the start.
Before you waste an hour factory-resetting your hardware, step back and examine the operating mode. How your router introduces itself to the hotel network determines whether you get true one-time authentication or a frustrating loop of individual sign-ins.
Article summary and product fit
How do you get one hotel captive-portal login to cover all travel-router devices?
Use Hotspot, WISP, or repeater-router mode so the hotel sees the travel router as the single upstream client. Standard Access Point mode bridges your devices onto the hotel network and can force each device to authenticate separately. Clear the portal first, then turn privacy layers and VPNs back on.
Key points
- Best for: Travelers using a pocket router for laptops, phones, tablets, or streaming devices on hotel Wi-Fi with a captive portal.
- Test first: Create the private SSID and password before the trip, connect one browser-capable device to that private network, join the hotel Wi-Fi from Hotspot/WISP mode, and complete the portal before adding extra filtering.
- Product fit: The article keeps jobs separate: the travel router handles hotel Wi-Fi and the portal, while OnlydogVPN is positioned on the endpoint devices after ordinary internet access is already working.
- Important limit: MAC cloning is a fallback, not a default step. If it is needed, clone the active private Wi-Fi address the phone is actually using on that hotel network, and avoid leaving a router-level VPN active while the portal needs re-authentication.
Sources already cited in the article: TP-Link’s captive-portal guidance, GL.iNet repeater and hotspot guidance, IETF RFC 8952 on captive portals, Apple’s Private Wi-Fi Address guidance, and OnlydogVPN official website.
First decide who the hotel should see
The single most consequential choice you make on a travel router happens on the mode-selection screen.
Most travel routers offer several operational modes, often with deceptively friendly names like "Access Point" or "Hotspot/Repeater." Many travelers instinctively select Access Point (AP) mode because it sounds like the natural way to broadcast Wi-Fi in a room.
In an untrusted hotel network, that choice breaks the entire premise of carrying a travel router.
In Access Point mode, the travel router behaves like a bridge, so the hotel can still see the laptop, phone, and TV stick as separate clients and can ask each one to clear the portal. In Hotspot, WISP, or repeater-router mode, the travel router becomes the single client the hotel sees, while your own devices sit behind the router on its private network.
In standard Access Point mode, the travel router functions essentially as a transparent pass-through bridge. It merges your devices directly onto the hotel’s broadcast layer. The hotel’s gateway does not see a router; it sees every single gadget sitting behind it as an unauthenticated device demanding its own room-number sign-in.
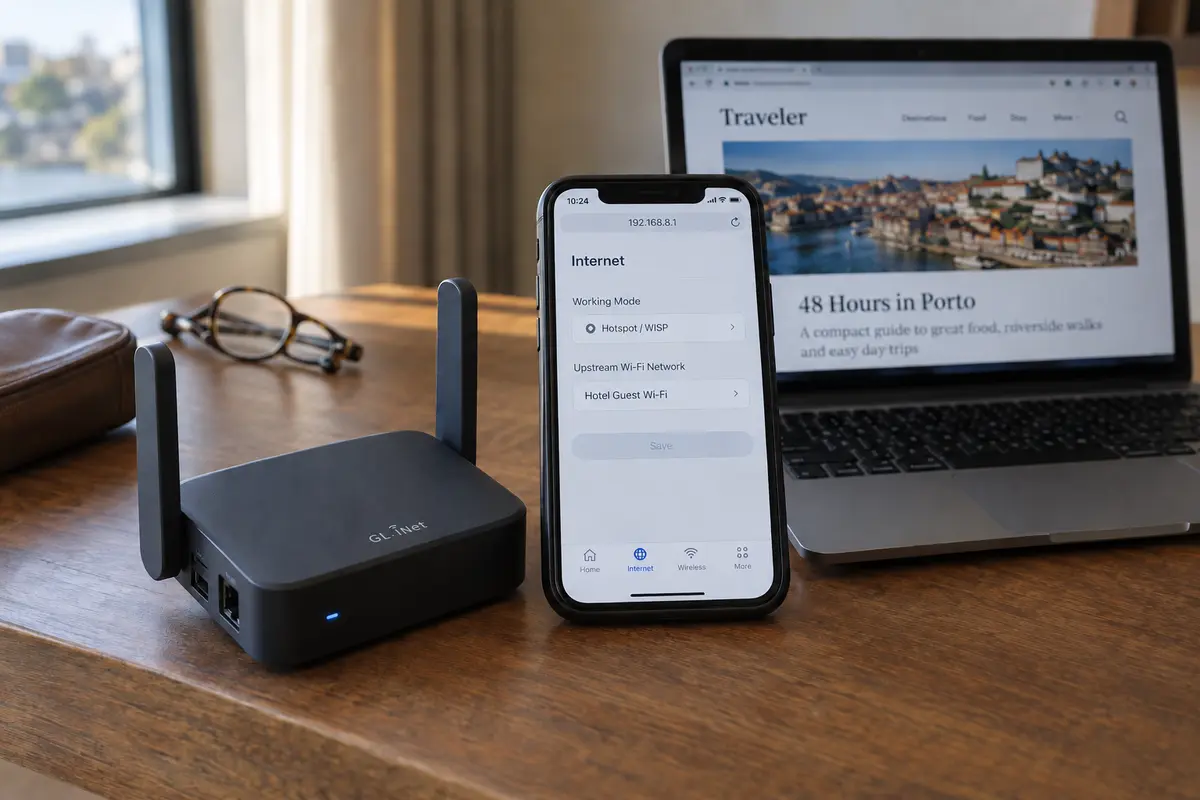
To achieve one single login for everything, you must configure the router in Hotspot, WISP, or Repeater-router mode.
In this architecture, the travel router connects outward to the hotel Wi-Fi as an ordinary client device, while internally spinning up its own private subnet, DHCP server, and firewall. The hotel’s infrastructure only ever sees one device: your travel router.
Leading manufacturers make this distinction crystal clear. TP-Link’s captive-portal guidance explicitly instruct users to deploy Hotspot mode so downstream devices share a single authorization, warning that standard Access Point mode can leave each device having to authenticate on its own. Similarly, GL.iNet’s default repeater connection operates as a WISP gateway, placing your downstream gadgets safely behind an isolated local subnet.
If you bought a travel router to authenticate once and connect everything, start in Hotspot/WISP mode—never standard Access Point mode.
Build the private network before the router meets the hotel
Setting up your network is substantially easier if you handle the inside before you tackle the outside.
The ideal workflow begins at home before you even pack your bags:
- Power up the router.
- Name your private Wi-Fi network (SSID) and set a strong personal password.
- Connect your travel devices—your phone, laptop, and media streamer—to that private Wi-Fi once.
When you arrive at a hotel, your personal gadgets already know and trust that private network. Your private bubble stays completely unchanged; only the router’s external internet source changes.
Once you check into your room, follow this clean sequence:
- Power on the travel router.
- Connect one primary device (preferably a laptop or smartphone with a capable web browser) to your router’s private Wi-Fi—not directly to the hotel network.
- Open a browser and access the router’s administrative console (or companion app).
- Scan for local wireless networks in Hotspot/WISP mode, select the hotel’s public Wi-Fi, and join it.
- The router’s interface will prompt you to complete the captive-portal login, or you can simply open a new browser tab on your laptop to trigger the redirect.
- Submit your room number, voucher code, or terms acceptance.
- Confirm that a standard webpage loads cleanly.
The moment that single authentication clears, your travel router holds the authorized token with the hotel. Every other device on your private Wi-Fi—including your streaming box, tablet, and smart accessories—instantly inherits full internet access without opening a single sign-in page.
If the login page refuses to appear, strip away interference
The most common point of friction during setup is the "headless hang": the travel router successfully links to the hotel Wi-Fi radio, but the captive portal redirect simply refuses to load.
Before you panic, remember how captive portals work. As outlined in standard networking models like IETF RFC 8952, a captive portal functions by actively intercepting unauthenticated web requests and redirecting them to a local landing page.
If your travel router has aggressive privacy or filtering tools active during that initial handshake, it can unintentionally block the hotel’s redirection mechanism.
Modern firmware often handles this automatically. For instance, GL.iNet routers incorporate a dedicated Public Hotspot Login Mode that temporarily suspends custom DNS rules, ad blockers, and active VPN tunnels until authentication is complete.
If your travel router does not manage this behind the scenes, manually prepare the router for the handshake:
- Turn off router-level VPNs: A travel router attempting to force all outbound traffic into an encrypted tunnel before clearing the hotel gate will choke, because the hotel network will not route external encrypted packets until terms are accepted.
- Revert DNS to Automatic: If you manually set static DNS servers (like
1.1.1.1or8.8.8.8), temporarily switch back to obtaining DNS automatically from the hotel. The hotel's local DNS resolver is what points your browser to the sign-in portal. - Disable router-level ad blocking: If you run embedded AdGuard Home or similar filtering tools on the router, pause them for five minutes so they don't block the hotel’s tracking and redirect scripts.
- Force the trigger: Open a browser tab on your connected laptop and navigate to a plain, unencrypted website (such as
captive.apple.comorneverssl.com) to kick-start the redirect prompt.
Think of this as a temporary greeting mode. You are briefly cooperating with the hotel’s local gatekeeper so it opens the door. Once traffic flows normally, you can bring your preferred privacy layers back online.
MAC cloning is a fallback, not the starting point
Travelers often hear about MAC cloning and assume it is a mandatory part of setting up a travel router. It isn't. MAC cloning is a specialized fallback, not a standard operating procedure.
Hotels authenticate devices by binding authorization to a unique hardware identifier—the Media Access Control (MAC) address.
Sometimes, a hotel portal works smoothly on a smartphone but glitches out inside a router's admin interface. Or perhaps you made the common mistake of logging into the hotel Wi-Fi directly on your phone first, consuming your room’s single allocated "device slot," and now the portal rejects your router.
This is the specific scenario where MAC cloning earns its place:
The fallback is simple in concept: authorize the phone first, copy the MAC address that phone is actually using on the hotel network to the router’s WAN side, then let the router present that same identity to the hotel. The portal sees the already-authorized client instead of a new device.
By instructing your travel router to copy the MAC address of the phone that already passed the portal, the hotel network assumes the router is the exact same handset it authorized five minutes ago. TP-Link and GL.iNet both document this as an effective way to get through stubborn captive pages.
However, keep one modern detail in mind: Private Wi-Fi Addresses.
Current Apple iOS and Android devices use randomized, private MAC addresses by default on public and open networks. If you need to clone your phone's address into your travel router, do not copy the physical hardware MAC printed on the phone’s "About" screen. Instead, open your phone's Wi-Fi settings for that specific hotel network, look at the active Private Wi-Fi Address currently in use, and copy that exact string into your router.
If cloning fails and the portal remains deadlocked, don't waste your evening guessing MAC addresses. A quick call to the hotel front desk asking them to clear your registered devices or manually whitelist your router's default MAC address will almost always solve the problem in two minutes.
Once the router has internet, add protection where it belongs
Once your travel router clears the captive portal and regular web pages load smoothly, the final question arises: Where should your VPN live?
Running a VPN directly inside the travel router sounds appealing in theory—one toggle to protect the entire room. But on unpredictable travel networks, it frequently reopens the exact captive-portal headaches you just resolved:
- If the hotel network requires re-authentication every 12 or 24 hours, an active router VPN will silently block the renewal portal from displaying.
- Diagnosing whether a sudden connection drop is caused by the hotel gateway or a congested remote VPN server becomes a confusing guessing game inside the router's dashboard.
For travelers moving between hotel rooms with laptops, smartphones, and tablets, the far cleaner, low-friction architecture is to let the router handle the physical hotel connection, and run an adaptive VPN directly on the endpoint devices that need it.
I prefer to keep those jobs separate: the travel router handles the hotel Wi-Fi and the captive portal, while OnlydogVPN↗ runs on the laptop, phone, or tablet that actually needs an encrypted internet path.
That is where OnlydogVPN fits naturally into a multi-device travel setup.
Instead of turning the router into a complicated network appliance, OnlydogVPN keeps the VPN job on the devices where the work actually happens. The parts that matter on hotel Wi-Fi are:
Smart Global Routing. Rather than forcing you to manually test dozens of regional server locations to find one that tolerates hotel bandwidth limits, OnlydogVPN automatically identifies stable, low-latency transit paths suited to your immediate environment.
Weak-Network and Switch Resilience. Hotel Wi-Fi connections are notoriously erratic, suffering from sudden packet loss and micro-disconnects. Built with modern transport protocols, OnlydogVPN recovers smoothly from momentary network dropouts without freezing your active browser tabs or dropping your work calls.
Frictionless Multi-Device Pairing. Bringing multiple travel gadgets onto your VPN account doesn't require typing cumbersome email-and-password combinations across four different screens. With streamlined verification code pairing, securing a secondary tablet, laptop, or work phone takes seconds.
By separating the layers, the setup stays easier to reason about: the travel router quietly manages the hotel’s captive portal and provides an isolated local network for your hardware, while OnlydogVPN effortlessly secures your browsing, messaging, and cloud tools without dragging you back into router settings.
A note for the next hotel
The next time you unpack your travel router:
Set it to Hotspot/WISP mode so the hotel only ever sees one client.
Connect to your private network first, then introduce the router to the hotel.
Keep settings clean until the captive portal is cleared.
Deploy OnlydogVPN on your devices for effortless, one-tap protection once the internet is live.
Follow the sequence, let the router do its job, and spend your trip enjoying your stay—not fighting network gateways.
Frequently Asked Questions
Which travel-router mode should I use if I want one hotel login for all my devices?
Use Hotspot, WISP, or repeater-router mode. In that setup the hotel sees the travel router as one client while your personal devices stay behind its private network. Standard Access Point mode can expose each device separately to the captive portal.
What should I configure before I arrive at the hotel?
Set up the router’s private Wi-Fi name and strong password at home, then connect your travel devices to that network once. At the hotel, only the router’s upstream connection changes, so your devices can keep using the same private SSID.
What should I do if the hotel login page will not appear through the travel router?
Temporarily turn off router-level VPNs, custom DNS, and ad blocking, then trigger the portal from a browser-capable device. The captive portal needs to complete its local redirect before encrypted tunnels and aggressive filtering are restored.
When is MAC cloning actually useful?
Use it only as a fallback when a phone has already been authorized but the router cannot clear the portal or the hotel limits device slots. If the phone uses a randomized private Wi-Fi address, clone the address active for that specific hotel network rather than the phone’s hardware MAC.
Where should the VPN run in this hotel setup?
The article recommends letting the travel router handle the hotel connection and captive portal, then running the VPN on the laptops, phones, or tablets that need it. Keeping the layers separate makes re-authentication and troubleshooting easier.