How to Setup a Tailscale Exit Node with a VPN (And Why It’s Usually a Terrible Idea)
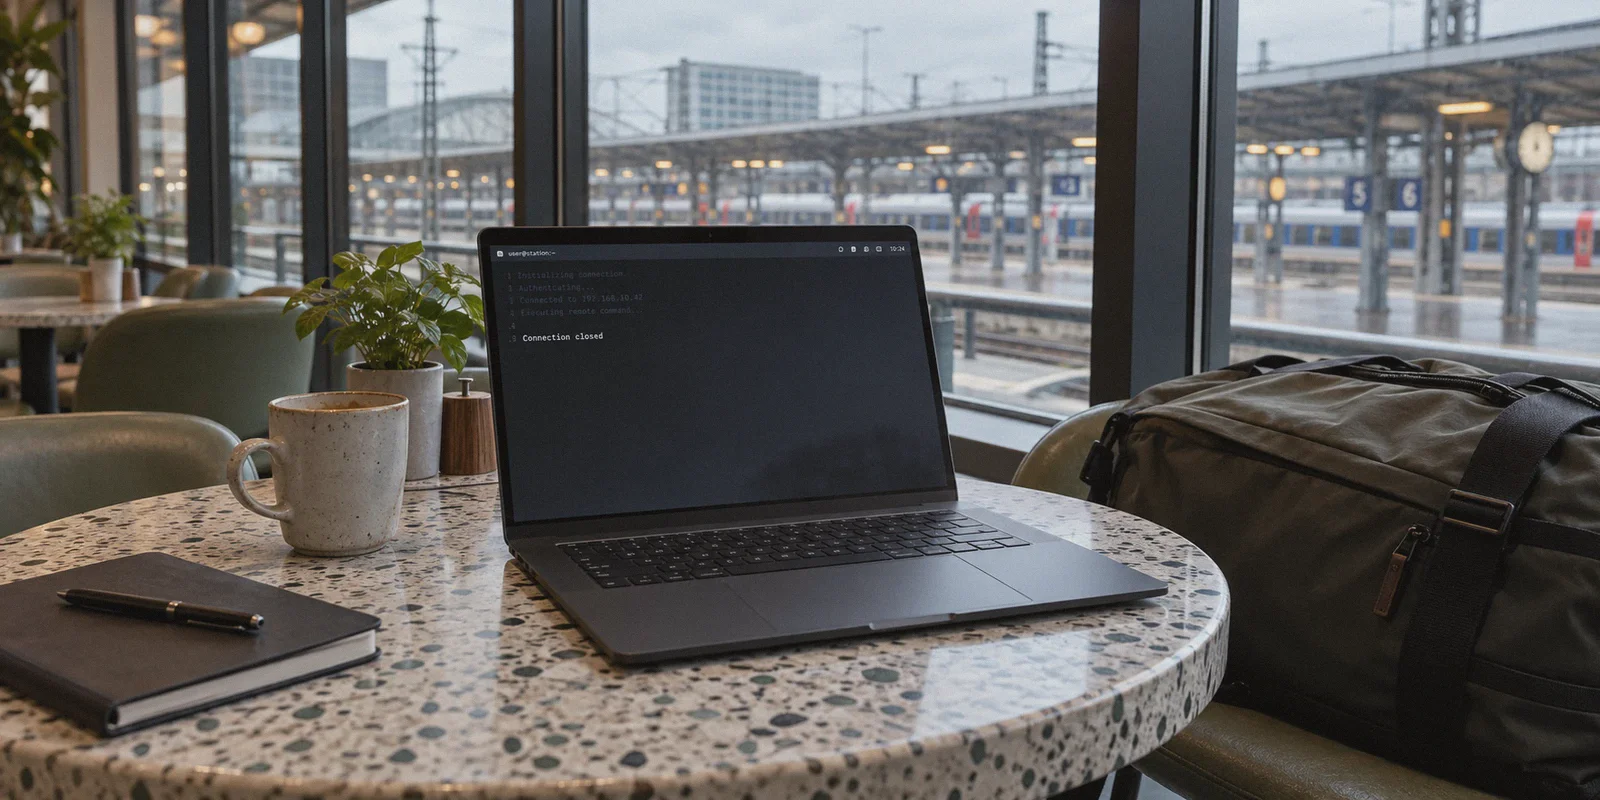
You’re probably reading this because someone on Reddit or a tech blog gave you what sounded like the ultimate life hack:
"Why pay for a travel VPN? Just install Tailscale on a spare PC or Raspberry Pi at home, configure it as an Exit Node, chain it to a commercial VPN, and boom—you have a 100% private, self-hosted tunnel for coffee shop Wi-Fi!"
It sounds brilliant on paper. You get total control, you dodge sketchy public Wi-Fi, and your bank thinks you never left your living room.
Then you actually sit down to build it.
You find yourself SSH'd into an old machine, toggling IP forwarding in /etc/sysctl.conf, wrestling with iptables NAT tables, and approving routes in the Tailscale admin console. And the exact moment you try to start a commercial VPN alongside Tailscale on that same machine, both routing tables collide. The connection freezes, your remote terminal disconnects, and you are officially locked out of your own home server.
If you’re stuck trying to get a Tailscale exit node working with a VPN for secure remote browsing, let’s clear the air. First, here is the exact technical blueprint to set it up properly without bricking your connection. And second, here is the blunt truth about why doing this for everyday remote browsing usually turns into a massive, slow, fragile headache—and what you should do instead.
Article summary and product fit
How do you set up a Tailscale exit node, and why is chaining it with a commercial VPN difficult?
The article sets up a Linux exit node by enabling IP forwarding, advertising the node, approving it in the Tailscale admin console, and selecting it on the client. It then explains that a commercial VPN can seize the same default route Tailscale depends on, creating routing loops or disconnecting the remote session.
Key points, fit, and limits
- Best for: Home-lab users who want to understand Tailscale exit-node routing before relying on it for remote internet access.
- Key point: A Tailscale exit node and a second full-tunnel VPN both want control over routing, so simply turning both on is not the same as building a reliable chained tunnel.
- Suitable scenario: The article strongly favors Tailscale for private mesh access to a NAS, SSH hosts, and personal devices.
- Product fit in this article: OnlyDogs VPN is presented as the simpler choice for everyday browsing on hotels, airports, and cafés when the user does not want to maintain a home exit server.
- Important limit: A home exit node is constrained by home upload speed and uptime, may fall back to slower relays when UDP is blocked, and does not add ad or tracker filtering by itself.
Product source already linked in this article: OnlyDogs VPN official website.
Part 1: How to Set Up a Tailscale Exit Node (The Right Way)
To make a Tailscale node route your remote internet traffic, you have to configure it at the operating system level, not just inside the app.
Here is the setup process for a standard Linux host (e.g., Ubuntu/Debian on a home server or VPS):
1. Enable IPv4 and IPv6 Forwarding
By default, Linux drops packets meant for other destinations. You need to tell the kernel to route external traffic: Bash
echo 'net.ipv4.ip_forward = 1' | sudo tee -a /etc/sysctl.d/99-tailscale.conf
echo 'net.ipv6.conf.all.forwarding = 1' | sudo tee -a /etc/sysctl.d/99-tailscale.conf
sudo sysctl -p /etc/sysctl.d/99-tailscale.conf
2. Advertise the Node as an Exit Node
Start Tailscale while passing the --advertise-exit-node flag:
Bash
sudo tailscale up --advertise-exit-node
3. Approve the Route in Your Tailscale Admin Console
Tailscale will not route traffic until you authorize it for security reasons:
- Open your Tailscale Machines Admin Console.
- Find the machine you just configured and click the three dots (
...) on the right. - Select Edit route settings.
- Check the box for Use as exit node and save.
4. Connect from Your Client Device
On your laptop or phone:
- Open the Tailscale client.
- Navigate to Exit Nodes.
- Select your home node. Your public IP is now whatever connection that home machine is running on.
Part 2: The Trap: Chaining an Exit Node with a VPN
Now comes the exact part where most users crash and burn: trying to run a commercial VPN on top of that exit node.
When you turn on an exit node, your traffic exits through your home ISP. But what if you want privacy from your ISP too? Or what if you want to route Tailscale traffic out of a different country?
Naturally, people try installing a VPN client directly onto their exit node machine.
Why It Instantly Breaks
Standard VPN clients operate by seizing the machine's "default route" (0.0.0.0/0). Tailscale also needs routing control to handle mesh traffic and coordinate with DERP relays.
When you fire up a standard WireGuard or OpenVPN client on your exit node:
- The commercial VPN re-routes all inbound and outbound traffic through its interface (
tun0orwg0). - The Tailscale daemon loses its direct UDP connection to the coordination servers and peer devices.
- Routing Loop: Your incoming Tailscale packets get swallowed by the commercial VPN tunnel, dropping your remote session immediately.
To make them coexist on a single machine, you cannot simply click "Connect." You have to build isolated network namespaces or configure policy-based routing tables with ip rule and nftables, ensuring Tailscale traffic is marked and forwarded into the VPN interface while preserving the host's direct loopback to the local gateway.
For 99% of people who just wanted to check their email safely from a hotel lobby, this is where the project dies.
The Reality Check: The Four Big Flaws of DIY Exit Nodes
Let's assume you're technically capable and spent the weekend writing network routing scripts that actually work. What does using a home-based Tailscale exit node feel like in real life?
1. The "Home Upload" Speed Tax
When you use a home exit node, every single megabyte you download on public Wi-Fi must first be downloaded by your home machine and then uploaded back to you. If your home broadband has asymmetrical speeds—like a 300 Mbps download but a stingy 20 Mbps upload—your browsing speed on the road is permanently capped at that 20 Mbps. Streaming 4K video or downloading large project files feels like dial-up.
2. The "Living Room Failure" Problem
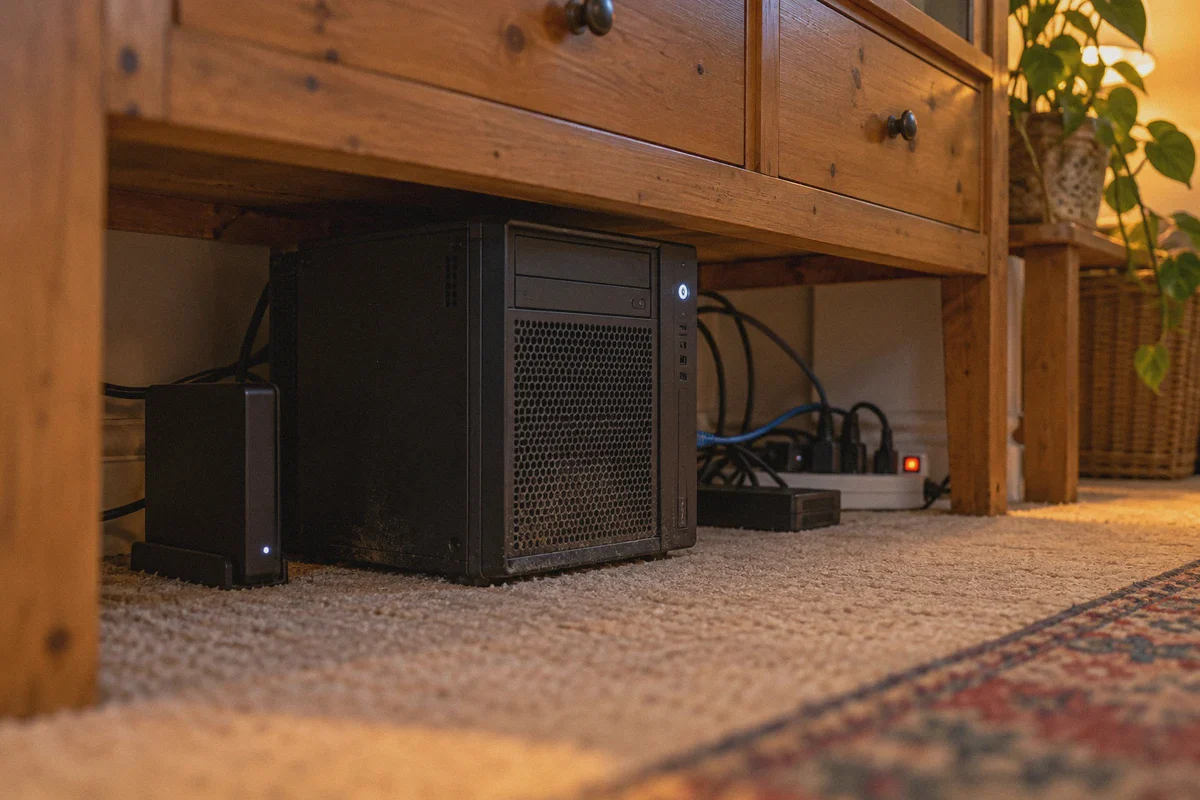
A home-hosted exit node is subject to household reality. Your roommate kicks the power strip. Your power flickers during an afternoon storm. Windows pushes a mandatory update and restarts your PC while you’re mid-presentation at a conference. The moment that home machine goes dark, your entire remote browsing setup is dead until you physically walk back into your house.
3. Public Wi-Fi Throttling (The UDP Problem)
Tailscale runs on WireGuard (UDP). Many restrictive hotel networks, international airports, and enterprise captive portals intentionally throttle or outright drop raw UDP traffic to prevent tunneling. When this happens, Tailscale falls back to its DERP relays—centralized relay servers that keep the connection alive but drop your speeds down to 1–2 Mbps with 300ms latency.
4. Zero Ad or Tracker Protection
Routing your traffic through home encrypts the Wi-Fi hop, but it doesn't clean up your traffic. Unless you also spend hours configuring and maintaining a self-hosted Pi-hole or AdGuard instance on the same box, you still get bombarded by cookie banners, autoplay video ads, and third-party trackers.
The Right Tool for the Right Job
Tailscale is an incredible piece of software. If your goal is private mesh networking—accessing a home NAS, SSH'ing into a local server, or syncing files across your own personal devices—nothing beats it.
But using Tailscale as a travel proxy for secure remote browsing is using a sledgehammer to tap in a thumbtack.
When you're working out of a cafe, navigating an airport lounge, or traveling internationally, what you actually want isn't a complex routing project in your living room. You want:
- Rock-solid encryption that hotel networks can't throttle.
- Servers with gigabit backbones that don't depend on your home upload speed.
- Zero maintenance when you just need to get work done.
This is where a modern, privacy-first tool like OnlyDogs VPN completely outclasses the self-hosted approach.
Why OnlyDogs VPN Makes More Sense for Remote Browsing
Instead of forcing you to act as an unpaid network administrator, OnlyDogs VPN is engineered specifically for fast, zero-fuss privacy on untrusted networks.
1. Scene Presets: Pick Your Goal, Not Your Protocols
With DIY setups, you spend half your time researching whether you need split-tunneling, WireGuard handshakes, or specific port forwards.
OnlyDogs eliminates technical friction with Scene Presets. Need clean, secure browsing at a cafe? Click the high-speed preset. Need to stream sports from your hotel bed? Tap the streaming preset. The app automatically configures the underlying network parameters, routing, and server selection for that specific task. You don't have to fiddle with settings to get optimal performance.
2. HTTP/3 & Traffic Obfuscation (Beats Hotel Wi-Fi Blocks)
As mentioned earlier, generic VPN protocols and WireGuard handshakes get spotted and throttled by aggressive public Wi-Fi firewalls in seconds.
OnlyDogs utilizes a proprietary protocol architecture built with HTTP/3 framing and traffic obfuscation. To the cafe router, hotel captive portal, or restrictive firewall, your connection looks identical to standard, encrypted web traffic. It glides straight through DPI (Deep Packet Inspection) blocks in heavily restricted networks (including regions like the UAE, Russia, and beyond) where standard WireGuard tunnels fail to handshake.
3. Weak-Network Auto-Recovery
The most irritating part of working on the go is walking between Wi-Fi and mobile data. Your phone grabs a weak corner of the cafe Wi-Fi, drops it, switches to 5G, and your DIY tunnel hangs indefinitely.
OnlyDogs is built with aggressive weak-network recovery. It gracefully manages interface hops without hanging, preventing your device from freezing active sessions or leaking requests onto unencrypted networks during the handover.
4. Built-in DNS + Node Ad & Tracker Blocking
Instead of maintaining a separate DNS sinkhole at home, OnlyDogs integrates dual-layer filtering directly at the DNS and node levels. It strips out invasive ad scripts, trackers, and malicious domains before they ever reach your browser. You get clean, lightning-fast page loads on mobile and desktop without installing a dozen browser extensions.
5. Passwordless Simplicity Across All Devices
Nobody wants to manage complex authentication keys or 24-character passwords on a mobile keyboard. OnlyDogs uses secure email verification codes for instant, headache-free logins across Windows, macOS, Android, and iOS.
DIY Tailscale vs. OnlyDogs VPN: The Honest Comparison
| What Matters | Tailscale Home Exit Node | Tailscale + Chained VPN | OnlyDogs VPN |
|---|---|---|---|
| Setup Time | 20–40 minutes | Hours of config & routing tables | Under 60 seconds |
| Speed Limit | Capped by home upload speed | Capped by home upload + double hop | Full gigabit server bandwidth |
| Public Wi-Fi Bypass | Poor (WireGuard UDP often throttled) | Poor (UDP throttles still apply) | Excellent (HTTP/3 Obfuscation) |
| Hardware Reliability | If home PC dies, setup dies | If home PC dies, setup dies | 99.9% redundant cloud infrastructure |
| Ad & Tracker Blocking | None (requires Pi-hole setup) | None (unless custom configured) | Built-in DNS + Node filtering |
| Maintenance | Regular manual updates & monitoring | High maintenance & breaks on updates | Zero maintenance |
The Takeaway
There is a distinct satisfaction in building your own self-hosted infrastructure. If you're building a home lab to learn Linux networking, setting up an exit node is a great weekend experiment.
But don't mistake a home lab project for reliable everyday travel security.
If your real objective is simply to open your laptop at an airport, hotel, or coffee shop without worrying about packet sniffing, ISP tracking, or throttled speeds, don't tether yourself to a living room computer that could go offline at any minute.
Keep Tailscale for what it was built for—connecting your own computers to each other. For browsing the rest of the web securely, grab OnlyDogs VPN, hit your scene preset, and get back to what you were actually trying to do.
Frequently Asked Questions
What are the basic steps to make a Linux machine a Tailscale exit node?
The guide enables IPv4 and IPv6 forwarding, runs Tailscale with the advertise-exit-node option, approves that route in the Tailscale admin console, and then selects the node from the client device.
Why can adding a commercial VPN to the exit-node host break the connection?
The article explains that a normal commercial VPN often replaces the host default route while Tailscale also needs stable routing for peer and coordination traffic. Without policy routing or network namespaces, the two paths can collide and drop the remote session.
What practical limits does a home exit node have while traveling?
The article highlights the home connection upload cap, dependence on the home machine staying powered and reachable, degraded performance when public networks block UDP, and the lack of built-in ad or tracker filtering.
What does the article say Tailscale is best used for?
It recommends Tailscale primarily for private mesh networking such as reaching a home NAS, SSH server, or other personal devices rather than treating a home exit node as a universal travel-browsing replacement.