How to Use a VPN with Pi-hole (And Why Your Setup Probably Isn't Doing What You Think)
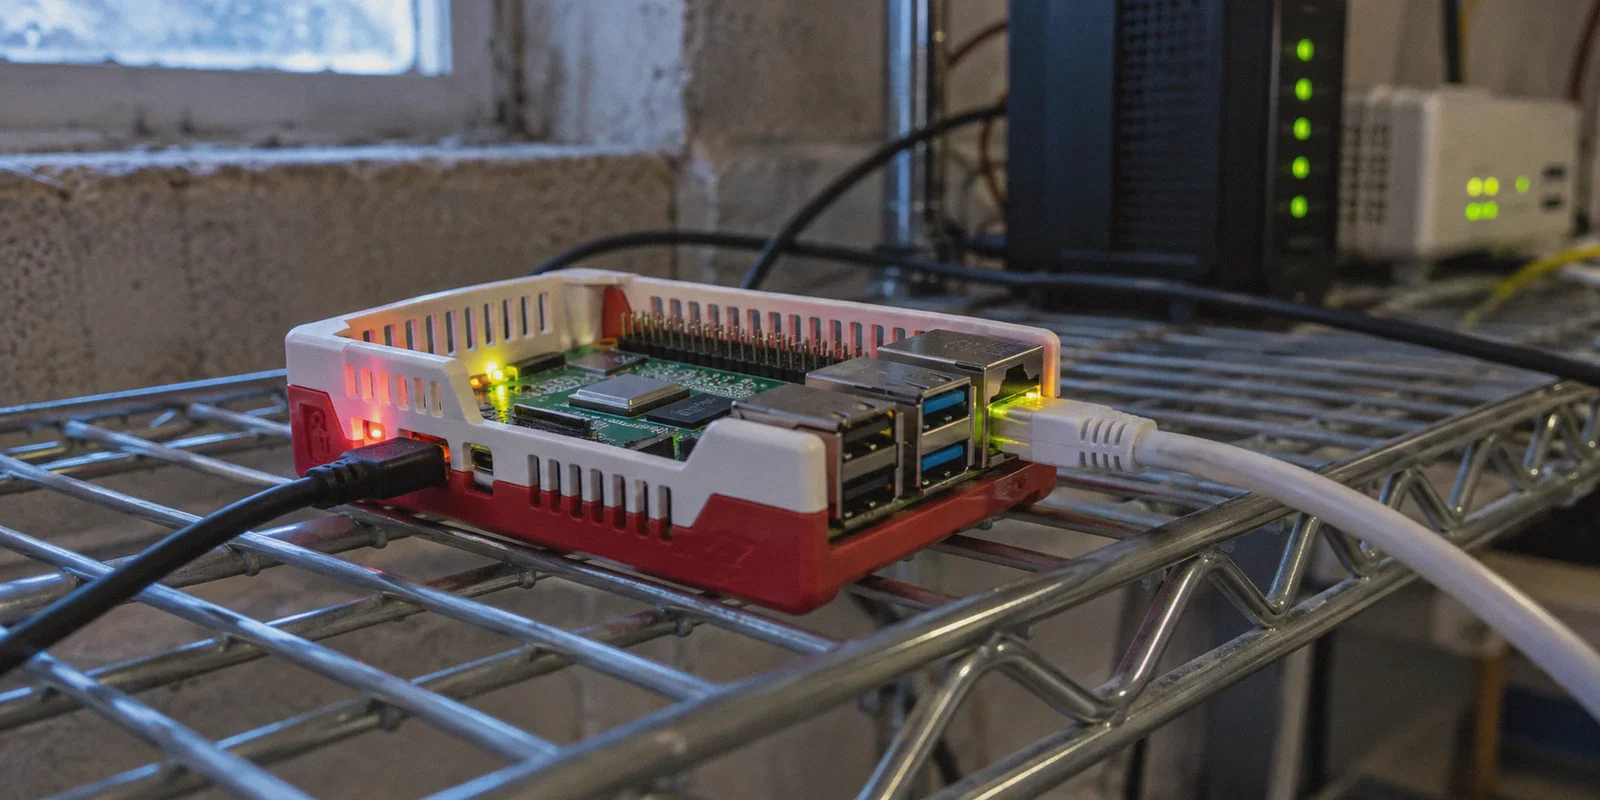
There is a very specific high that comes with setting up a Pi-hole for the first time. You flash Raspberry Pi OS, run the curl script, set your router’s upstream DNS to that little local IP address, and watch the dashboard light up in real time. Seeing 20,000 telemetry pings and telemetry trackers get silently swallowed into a black hole before they ever touch your laptop feels like black magic.
Then, two things inevitably happen.
First, you sit down on the couch, open YouTube on your smart TV, and get hit with an unskippable 30-second ad for car insurance.
Second, you leave your apartment to grab a coffee, connect to the café’s open Wi-Fi, and suddenly your phone is bleeding unencrypted data while banner ads crowd your screen like it’s 2004 again.
That is usually the exact moment someone opens a search tab and types in: how to use vpn with pi-hole for network-wide ad blocking and privacy.
You want the holy grail: Pi-hole’s clean, tracker-free browsing, combined with a VPN’s encrypted tunnel and IP masking, running 24/7 across every device you own, both inside and outside the house.
It sounds straightforward on paper. In practice, chaining a VPN to a Pi-hole is where most people drive their home network straight into a brick wall. Let’s break down how this combination actually works, where the DIY approach quietly breaks down, and what a setup that doesn't cause household mutiny actually looks like.
Article summary and product fit
What does it really mean to combine a VPN with Pi-hole, and why do many setups disappoint?
The article separates two different designs: tunneling remote devices back home so they can query Pi-hole, and sending home traffic outward through a commercial VPN. It warns that mixing the goals can create routing and DNS problems, while Pi-hole itself remains a DNS sinkhole that cannot remove same-domain in-stream video ads.
Key points, fit, and limits
- Best for: Pi-hole users deciding whether they want remote DNS filtering, ISP-facing privacy, or both before changing routing and DNS settings.
- Key point: Inbound remote access and outbound privacy tunneling solve different problems; one does not automatically provide the benefits of the other.
- Suitable scenario: The article recommends a split-tunnel WireGuard design when the goal is to send only DNS queries back to the home Pi-hole while normal internet traffic stays local.
- Product fit in this article: OnlyDogs VPN is presented as an endpoint alternative for users who want encryption and filtering without maintaining a home VPN plus Pi-hole chain.
- Important limit: Pi-hole cannot block ads delivered from the same domains as wanted video content, and a home-tunnel design still depends on home routing, server uptime, and public-network compatibility.
Product source already linked in this article: OnlyDogs VPN official website.
The Core Confusion: You’re Trying to Solve Two Opposite Problems
Before running terminal commands or modifying configuration files, it helps to be clear about which direction your traffic is supposed to travel. When people say they want "VPN with Pi-hole," they usually mean one of two completely different architectures—and mixing them up is why so many configurations fail on day one:
Option A (Inbound / Remote Access):
[Phone on 5G / Café Wi-Fi] ──(VPN Tunnel)──> [Your Home Router] ──> [Pi-hole] ──> [Internet]

Option B (Outbound / Privacy Tunnel):
[Home Devices] ──> [Pi-hole] ──> [Commercial VPN Client] ──> [ISP / Internet]
1. The Inbound VPN (Accessing Pi-hole when away from home)
You run a self-hosted VPN server (like WireGuard or OpenVPN) on the same machine as your Pi-hole. When your phone leaves home, it tunnels back into your living room network first, queries your Pi-hole for DNS, and then heads out to the web.
- The Good: You get Pi-hole ad blocking on cellular networks.
- The Catch: It does nothing for your external privacy at home. Your home ISP still sees every unencrypted packet and destination IP once the traffic leaves your house. Furthermore, you have to forward ports on your router, set up Dynamic DNS (DDNS), and baby-sit a server exposed to the public internet.
2. The Outbound VPN (Hiding your home traffic from your ISP)
You configure your Pi-hole (or your entire router) to route outbound traffic through a commercial VPN.
- The Good: Your ISP can't see what domains you visit, and your external IP is masked.
- The Catch: This is where things get messy. Chaining upstream DNS queries through a commercial VPN tunnel frequently triggers routing loops, DNS leaks, and broken local device discovery.
Worse, you run straight into the three fundamental traps of the DIY privacy stack.
The 3 Traps That Break the Pi-hole + VPN Dream
If you spend an entire Saturday afternoon setting up static routing tables and testing DNS leak tests, here is the reality check waiting on the other side:
Trap 1: The YouTube & In-Stream Ad Wall
A Pi-hole is fundamentally a DNS sinkhole. When an app asks, "Where is ad-tracker-system.com?", Pi-hole replies with 0.0.0.0 (nowhere), and the ad fails to load.
That works wonders for static website banners and mobile game popups. But modern video platforms like YouTube, Twitch, and Hulu don’t serve ads from separate tracking domains. They inject ad video chunks from the exact same domains and IP addresses as the content you actually want to watch.
If Pi-hole blocks the YouTube ad domain, it blocks the video itself. DNS blocking cannot see inside an encrypted HTTPS stream, which means no matter how elegant your Pi-hole + VPN setup is, video ads will still play.
Trap 2: The "Household Mutiny" (Streaming & Banking Blocks)
When you force your home network's upstream traffic through a standard VPN pipe, services like Netflix, Disney+, BBC iPlayer, and your banking apps will immediately notice the datacenter IP address.
Within 48 hours, someone in your house will complain that their smart TV can’t load movies, their banking app locked them out for "suspicious location access," or a shopping site is throwing CAPTCHAs on every click. Maintaining custom routing bypasses for every TV, console, and family member's phone quickly turns into a part-time network administration job.
Trap 3: The Fragile Mobile Bridge
Keeping a mobile device permanently connected back to a home WireGuard/Pi-hole node sounds great until you hit real-world mobile networks. When your phone transitions from weak 5G to public Wi-Fi, or when you travel internationally through restrictive hotel firewalls, standard open protocols frequently stall or get actively throttled. You end up manually toggling VPN switches just to get a map app to load.

How to Set Up Pi-hole with a VPN (The Practical Way)
If you still want to run a dedicated home setup, the cleanest manual approach is using WireGuard with Split-Tunneling DNS:
- Install WireGuard on the Pi-hole Host: Run a WireGuard instance on your Raspberry Pi alongside Pi-hole (tools like PiVPN make this relatively painless).
- Configure Pi-hole Interface Listening: In the Pi-hole web interface under Settings > DNS, set the interface listening behavior to "Permit all origins" (safe only because your Pi-hole sits behind a local firewall/VPN, not raw internet exposure).
- Point the WireGuard Client DNS to Pi-hole: In your client config file (on your phone or laptop), set: Ini, TOML
DNS = 10.x.x.1 # The internal WireGuard IP of your Pi-hole
- Use Split Tunneling for Daily Convenience:
- If you set
AllowedIPs = 0.0.0.0/0, all internet traffic routes through your home connection (which slows your speed down to your home internet's upload cap). - If you set
AllowedIPs = 10.x.x.1/32, only DNS queries go back to your Pi-hole for ad blocking, while your actual internet traffic uses your local fast connection.
This setup gives you mobile ad blocking. But notice what you don't have: traffic encryption against your home ISP, geo-unblocking, anti-censorship protocols, or the ability to kill in-stream video ads.
That brings us to the alternative: what if your VPN client simply handled the ad and tracker filtering at the engine level, wherever you happen to be?
The Simpler Path: Why Node-Level Filtering Changes the Math
The entire reason people spend days duct-taping Pi-hole to a VPN is because legacy VPNs are passive tunnels—they encrypt packets, but they blindly pass ads, malicious tracking scripts, and bloat right through to your screen.
This is precisely where OnlyDogs VPN approaches the problem from a different angle. Instead of forcing you to build and maintain a DIY server cluster in your closet, it bakes the filtering directly into the connection engine.
Here is how that shifts your day-to-day experience:
1. Beyond DNS: Node + Stream Filtering
Unlike a pure DNS sinkhole, OnlyDogs VPN combines DNS blocking with node-level traffic filtering. Because it operates directly on the connection nodes, it doesn’t just silence basic domain lookup requests; it actively filters out stubborn in-stream ads and video tracking elements that DNS-only sinkholes are blind to. You get clean browsing and cleaner video streaming without maintaining regex blocklists.
2. Scenario Presets (No More Split-Routing Headaches)
Instead of forcing you to edit iptables or write custom routing scripts so your smart TV doesn't break Netflix while your laptop stays protected, OnlyDogs uses Scenario Presets.
- Need unthrottled 4K playback on regional platforms? Tap the Streaming preset.
- Want maximum data economy and zero tracking on a public network? Tap Aggressive Ad Blocking.
- Need raw throughput for large downloads? Tap Fastest Route.
You pick what you want to accomplish in one tap. The client handles the underlying routing, node selection, and DNS resolving behind the scenes.
3. Resilience Beyond Open Protocols
If you've ever tried running vanilla WireGuard or OpenVPN on restrictive airport Wi-Fi, in hotel networks, or in heavily censored regions (like mainland China, the UAE, or Russia), you know standard handshakes get detected and dropped almost instantly.
OnlyDogs VPN runs on custom proprietary protocols built over HTTP/3 with native traffic obfuscation. To network inspectors and firewall deep-packet inspection (DPI), your traffic looks like standard, innocuous web browsing. It also handles messy network transitions—like walking out of your house while your phone jumps from Wi-Fi to cellular—reconnecting instantly without dropping sessions or hanging your apps.
4. Zero Credential Hassle Across All Devices
Running a mixed-device household means managing configs across macOS, Windows, iOS, and Android. Instead of manually exporting and importing .conf files and QR codes for every device, OnlyDogs uses a passwordless email verification code system. You log in, tap connect, and have identical filtering and encryption across all your hardware.
Which Architecture Makes Sense for You?
To make an honest decision, look at what you actually want to spend your time doing:
| Feature / Goal | DIY Pi-hole + Self-Hosted VPN | OnlyDogs VPN |
|---|---|---|
| Setup Time | 3–6 hours of configuration & router tweaks | Under 2 minutes (Install & Connect) |
| Maintenance | Manual list updates, port forwards, DDNS | Zero maintenance |
| In-Stream Video Ads | ❌ Cannot block (same-domain CDN delivery) | ✔️ Handled via combined node & stream filtering |
| Streaming Compatibility | ⚠️ High risk of IP bans & region lockouts | ✔️ Dedicated streaming scenarios |
| Protection Outside Home | Requires keeping home server online 24/7 | ✔️ Native cross-platform apps on any network |
| ISP IP Masking | ❌ No (traffic exits your home router) | ✔️ Full IP cloaking & HTTP/3 encryption |
| Smart IoT Device Blocking | ✔️ Excellent (protects smart bulbs, sensors) | Covers personal computing devices (Mac/Win/iOS/Android) |
The Pragmatic Recommendation
If your primary hobby is home-labbing, by all means: install Pi-hole on a Raspberry Pi, run it on your local network, and let it quietly absorb telemetry from your smart fridge, light switches, and IoT gadgets. That is what a DNS sinkhole is genuinely great at.
But if your goal is personal privacy, seamless ad-free browsing, and encrypted peace of mind on your laptop and phone wherever you go—without breaking your family's streaming services or troubleshooting routing tables on a Tuesday night—don't overcomplicate your life.
Skip the fragile multi-hop proxy chains. Let your local network breathe, download a client engineered to handle both encryption and aggressive ad filtering natively, and get back to using the internet without the bloat.
👉 Try OnlyDogs VPN and get clean, encrypted browsing in one tap
Frequently Asked Questions
What are the two different architectures people mean by “VPN with Pi-hole”?
The article distinguishes an inbound VPN that lets remote devices tunnel back home and use Pi-hole, and an outbound design that sends home traffic through a commercial VPN. They have different routing, privacy, and maintenance consequences.
Why does Pi-hole still fail to block many YouTube or in-stream video ads?
Pi-hole works at DNS level. The article explains that many video platforms deliver ads from the same domains and infrastructure as the wanted video, so blocking the ad hostname would also block the content.
What split-tunnel setup does the guide recommend for mobile Pi-hole filtering?
It suggests running WireGuard beside Pi-hole, pointing the client DNS setting to Pi-hole’s internal WireGuard address, and restricting AllowedIPs to that DNS address when the goal is only to send DNS queries home.
When does the article still recommend keeping a DIY Pi-hole?
It says Pi-hole remains useful for local network and IoT telemetry filtering, especially for home-lab users who enjoy maintaining their own infrastructure, even if a separate endpoint solution is used for mobile privacy.