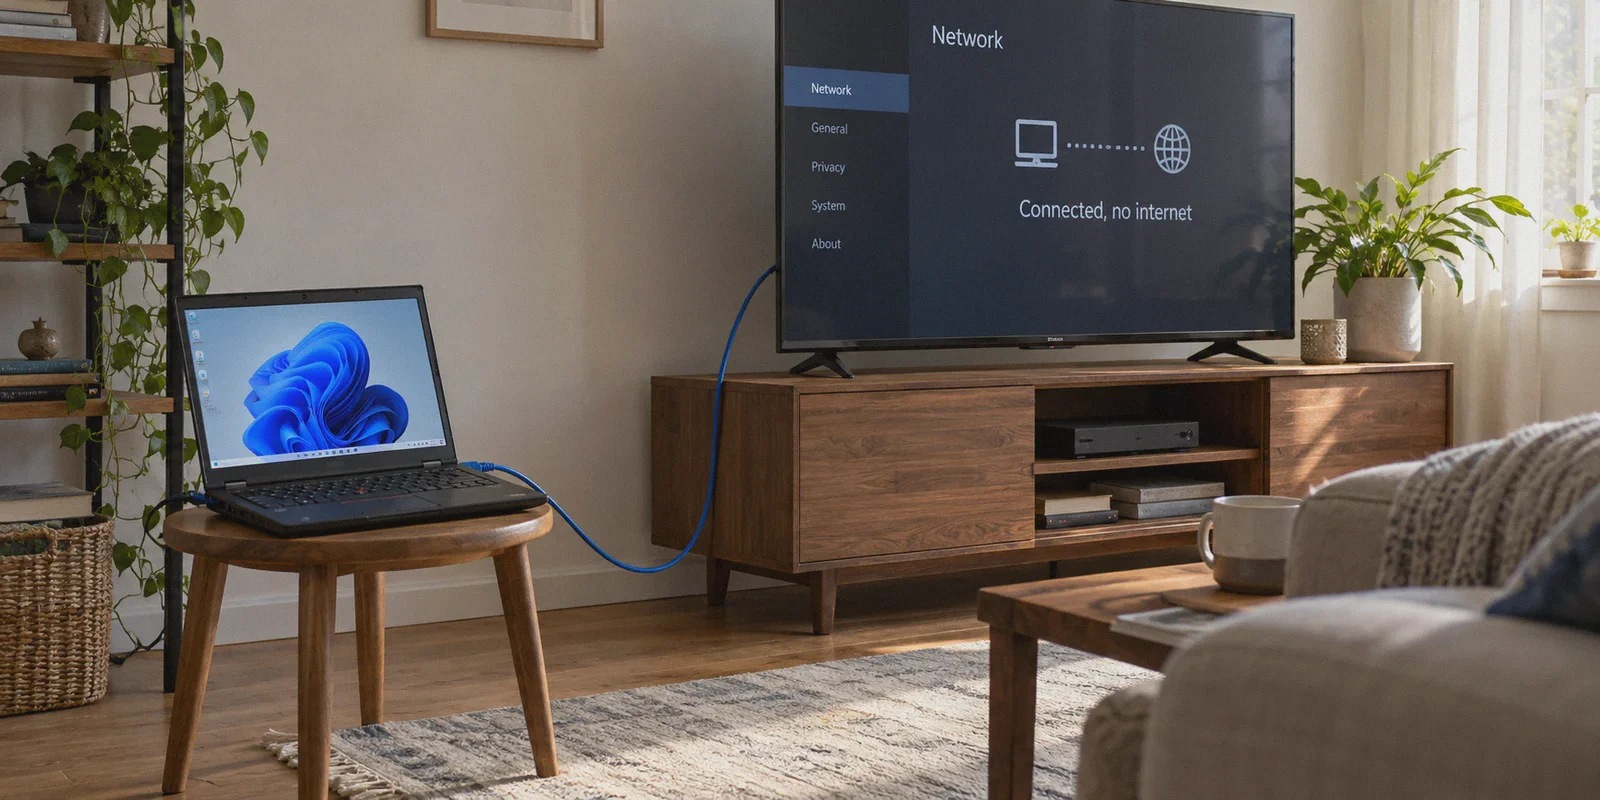
You’ve probably got an Ethernet cable snaking across your living room rug right now.
One end is plugged into your Windows laptop or Mac; the other is clicked into the back of your Samsung, LG, or Sony Smart TV. You turned on your VPN on the computer, bridged the connection, opened the Netflix or BBC iPlayer app on the TV, and got greeted with either a spinning loading wheel or that infuriating message: "Connected to local network, but no internet access."
I know the frustration. You didn't run that cable across the floor for fun. You did it because:
- Your TV runs on Samsung Tizen or LG webOS, which don't support native VPN apps.
- Flashing custom firmware (like DD-WRT) onto your home router sounds like a great way to accidentally brick your home Wi-Fi and anger everyone in your household.
- Wireless PC hotspots often cut your bandwidth in half, turning what should be crisp 4K HDR into grainy 720p mush.
Sharing a PC VPN over an Ethernet cable is genuinely the most stable, zero-lag way to get geo-restricted content onto a big screen. But 90% of online tutorials skip the exact reason the TV chokes: Windows and macOS don’t share VPN connections the same way they share normal Wi-Fi, and standard VPN protocols hate being bridged through a secondary network adapter.
Here is the straightforward walkthrough of how to set this up properly, why your TV is probably failing right now, and how to keep your speeds fast enough for smooth 4K streaming.
Article summary and product fit
How do you share a computer VPN with a Smart TV over Ethernet without losing internet access?
The key is to share the VPN virtual adapter—not the normal Wi-Fi adapter—to the physical Ethernet interface, let the TV obtain the PC-provided gateway and DNS settings, and keep the computer awake while it acts as the bridge.
Key points from this article
- Best for: Samsung, LG, Sony, and other TVs that cannot run a native VPN app but have an Ethernet port.
- Windows setup: Use Internet Connection Sharing on the VPN adapter and point it to the Ethernet adapter connected to the TV.
- Mac setup: Use Internet Sharing from the active VPN connection to Ethernet or the USB-C LAN adapter.
- Product fit: OnlyDogs VPN is presented here for multi-device/streaming presets, obfuscated transport, DNS filtering, and weak-network recovery.
- Important limit: The VPN cannot compensate for a bad cable, a sleeping laptop, stale TV network state, or incorrect local gateway/DNS settings.
Product link cited in this article: OnlyDogs VPN official website.
Why Your Smart TV Gets Stuck on "No Internet"
Before touching any network settings, let’s clear up the single mistake that trips up almost everyone.
When you use a standard VPN on a PC, it creates a Virtual Network Adapter (often labeled TAP, TUN, or a proprietary network interface). Your computer now has three active network points:
- Your physical Wi-Fi card (receiving internet from your home router).
- The virtual VPN adapter (encrypting your traffic).
- The physical Ethernet port (connected to your TV).
Most people go into their network settings, right-click their Wi-Fi connection, and click "Share to Ethernet."
When you do that, your PC simply shares your unprotected, local home Wi-Fi with the TV. The TV gets normal internet, but zero VPN benefits.
Worse, if you share the wrong virtual adapter or fail to configure DNS routing, your TV receives an internal IP address (like 192.168.137.x), but has no idea where to send DNS requests. The TV sees an active cable connection, tries to ping Google or Netflix, gets dead silence, and throws the dreaded "Connected, No Internet" error.
The Correct Setup: Windows PC to Smart TV via Ethernet
Follow these steps in exact order. Do not skip the reboot step at the end.
Step 1: Connect the Physical Cable
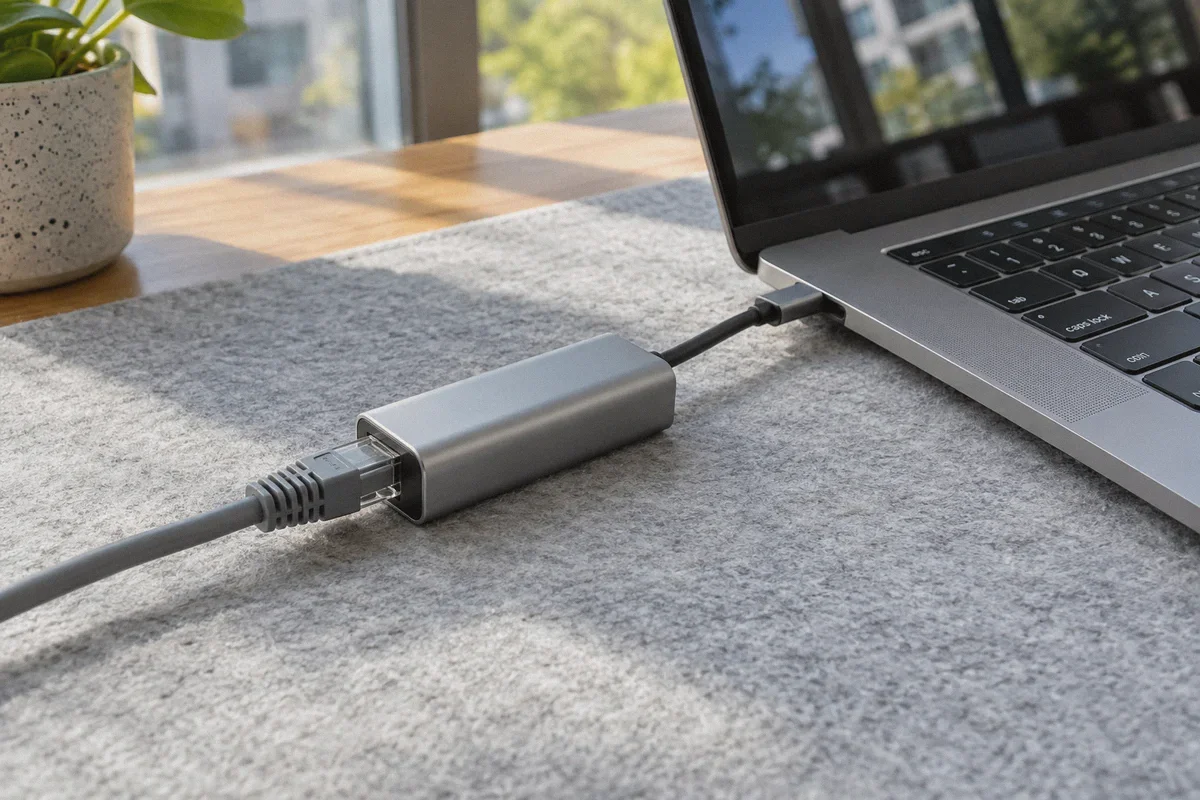
Plug your Ethernet cable into your PC’s RJ45 port (or USB-to-Ethernet adapter) and the Ethernet port on the back of your Smart TV. Leave the TV powered on.
Step 2: Open Network Connections
On your Windows PC:
- Press
Win + R, typencpa.cpl, and hit Enter. - This opens the Network Connections control panel.
- You will see your active connections: your Wi-Fi, your physical Ethernet, and your VPN Adapter.
Step 3: Enable Internet Connection Sharing (ICS) on the VPN Adapter
This is the step everyone gets backwards:
- Right-click your VPN Adapter (NOT your Wi-Fi), and select Properties.
- Click the Sharing tab at the top.
- Check the box: "Allow other network users to connect through this computer’s Internet connection."
- Under "Home networking connection", select your Ethernet adapter from the dropdown list.
- Click OK.
Note: If Windows displays a pop-up saying your Ethernet adapter will be assigned the IP address
192.168.137.1, click Yes. That is normal.
Step 4: Wake Up the TV’s Network Settings
Go to your Smart TV's network menu:
- Select Wired Connection (Ethernet).
- In 95% of cases, the TV will automatically pick up an IP address via DHCP from your PC within 10 seconds.
- If it stalls, switch the TV’s network setting from "Auto" to "Manual" and enter:
- IP Address:
192.168.137.15 - Subnet Mask:
255.255.255.0 - Gateway:
192.168.137.1 - DNS:
8.8.8.8(or1.1.1.1)
For Mac Users: Sharing VPN to TV via Ethernet
If you’re on a Mac (MacBook or Mac Mini):
- Connect your Mac to Wi-Fi and plug your Ethernet cable into your Mac (or USB-C dongle) and TV.
- Go to System Settings > General > Sharing.
- Look for Internet Sharing (don’t toggle the switch on just yet—click the
(i)info icon next to it). - In "Share your connection from", choose your active VPN connection.
- In "To computers using", check Ethernet (or your USB-C LAN adapter).
- Click Done, then toggle Internet Sharing ON.
The Streaming Bottleneck: Why Most VPNs Choke When Bridged
Getting the connection running is only battle number one. Battle number two is actually playing video.
When you route streaming data from a TV, through an Ethernet cable, into a PC, through a VPN tunnel, and out through home Wi-Fi, you are creating massive network overhead.
Standard, bloated VPN clients run into three major problems here:
- Protocol Fragmentation: Public protocols like OpenVPN create heavy packet overhead. When forced through Windows ICS bridging, packets fragment easily. You get sudden bitrate drops and constant buffering.
- Aggressive Streaming Blocks: Platforms like Netflix, Disney+, and Hulu actively monitor for datacenter IP ranges. Worse, if your PC leaks local DNS packets through the bridge, the streaming platform detects the mismatch between your IP location and your DNS origin, immediately slapping you with a proxy error code.
- Smart TV Ad Bloat: Modern Smart TVs are constantly phoning home with tracking beacons and ad telemetry. When that background traffic fights for bandwidth over a bridged VPN tunnel, video playback stutters.
This is where a purpose-built tool like OnlyDogs VPN completely changes the experience.
Instead of leaving you to dig through advanced adapter settings and manually patch DNS leaks, OnlyDogs VPN is built specifically around real-world user scenarios:
- Dedicated "Multi-Device Sharing" & "Streaming" Presets: You don't have to guess which protocol won't crash Windows ICS. With one click on the preset scenario, OnlyDogs configures optimal routing rules and routes traffic through clean, dedicated streaming nodes.
- HTTP/3 & Proprietary Traffic Obfuscation: Public VPN protocol handshakes are instantly identified by both ISPs and streaming filters. OnlyDogs uses HTTP/3-based obfuscation, disguising your bridged connection as standard, high-priority web traffic. It slips past streaming geoblocks effortlessly.
- Dual-Layer DNS & Tracker Blocking: OnlyDogs filters out junk traffic, ad trackers, and telemetry at both the DNS and node levels. Not only does this stop your TV manufacturer from spying on your viewing habits, but it also frees up precious tunnel bandwidth so your 4K stream stays crisp.
- Weak-Network Auto-Recovery: If your laptop’s Wi-Fi connection hiccups for a split second, ordinary VPNs drop the tunnel, causing the TV to disconnect and error out. OnlyDogs reconnects invisibly in the background, keeping the TV's buffer intact.
👉 Check out OnlyDogs VPN and get your Smart TV streaming in 4K
Three Details You Cannot Afford to Ignore
If you followed the guide and something still feels off, check these three common tripwires:
1. Do a "Cold Reboot" on the TV
Smart TVs don't actually shut down when you tap the remote's power button; they go into a fast-boot sleep state. This means your TV remembers its old DNS cache and old location cookies.
- Unplug the TV's power cord from the wall.
- Wait 30 seconds.
- Plug it back in and launch your streaming app.
2. Match Your TV's Time Zone
If your VPN is tunneling your connection to London or Tokyo, but your Smart TV’s internal clock is set to your local Eastern Time, certain streaming apps (especially live sports or BBC iPlayer) will reject your connection. Go to Settings > General > Time on your TV and set the time zone to match your target VPN server.
3. Disable Laptop Sleep When Lid is Closed
If you are using a laptop as your bridge, you probably don't want to leave it sitting open on the table.
- On Windows, search for "Change what closing the lid does" in the Start Menu.
- Set "When I close the lid" to Do Nothing (for both battery and plugged-in states).
- Now you can close the laptop, slide it under the TV stand, and let it quietly feed high-speed VPN internet to your television all evening.
The Verdict
Sharing your PC’s VPN over Ethernet isn’t an exotic hack—it’s the smartest way to bypass TV app store limitations and get rock-solid, zero-jitter streaming on a big screen.
You don't need expensive hardware routers, and you don't need a degree in network engineering. Connect your cable, share the VPN virtual adapter (not your Wi-Fi), and pair it with a streamlined, high-bandwidth service like OnlyDogs VPN that handles traffic obfuscation and multi-device routing for you.
Get the cable plugged in, fire up the preset, and enjoy your movies the way they were meant to be watched.
Frequently Asked Questions
Why does the Smart TV say “Connected, No Internet” after Ethernet sharing?
The article says this usually happens when the wrong adapter is shared or the TV receives a local IP but cannot reach the correct gateway or DNS path through the VPN interface.
Which Windows connection should be shared to the TV?
Share the VPN virtual adapter through Internet Connection Sharing and select the physical Ethernet adapter as the home networking connection. Do not share the ordinary Wi-Fi adapter if the goal is to pass VPN traffic.
How is the setup different on a Mac?
In System Settings, use Internet Sharing with the active VPN connection as the source and Ethernet or the USB-C LAN adapter as the destination.
What should you check if the connection works but streaming is still unstable?
The article recommends a cold TV reboot, matching the TV time zone to the target region when necessary, preventing the bridge laptop from sleeping, and checking local network quality.