How to Test and Fix VPN DNS Leaks on Windows (And Why Windows Keeps Leaking Behind Your Back)
You fire up your VPN, set the server to Zurich or New York, and watch the app proudly display: Connected.
To be safe, you open a browser, pull up an IP check site, and see a shiny US or Swiss IP address. Everything looks great.
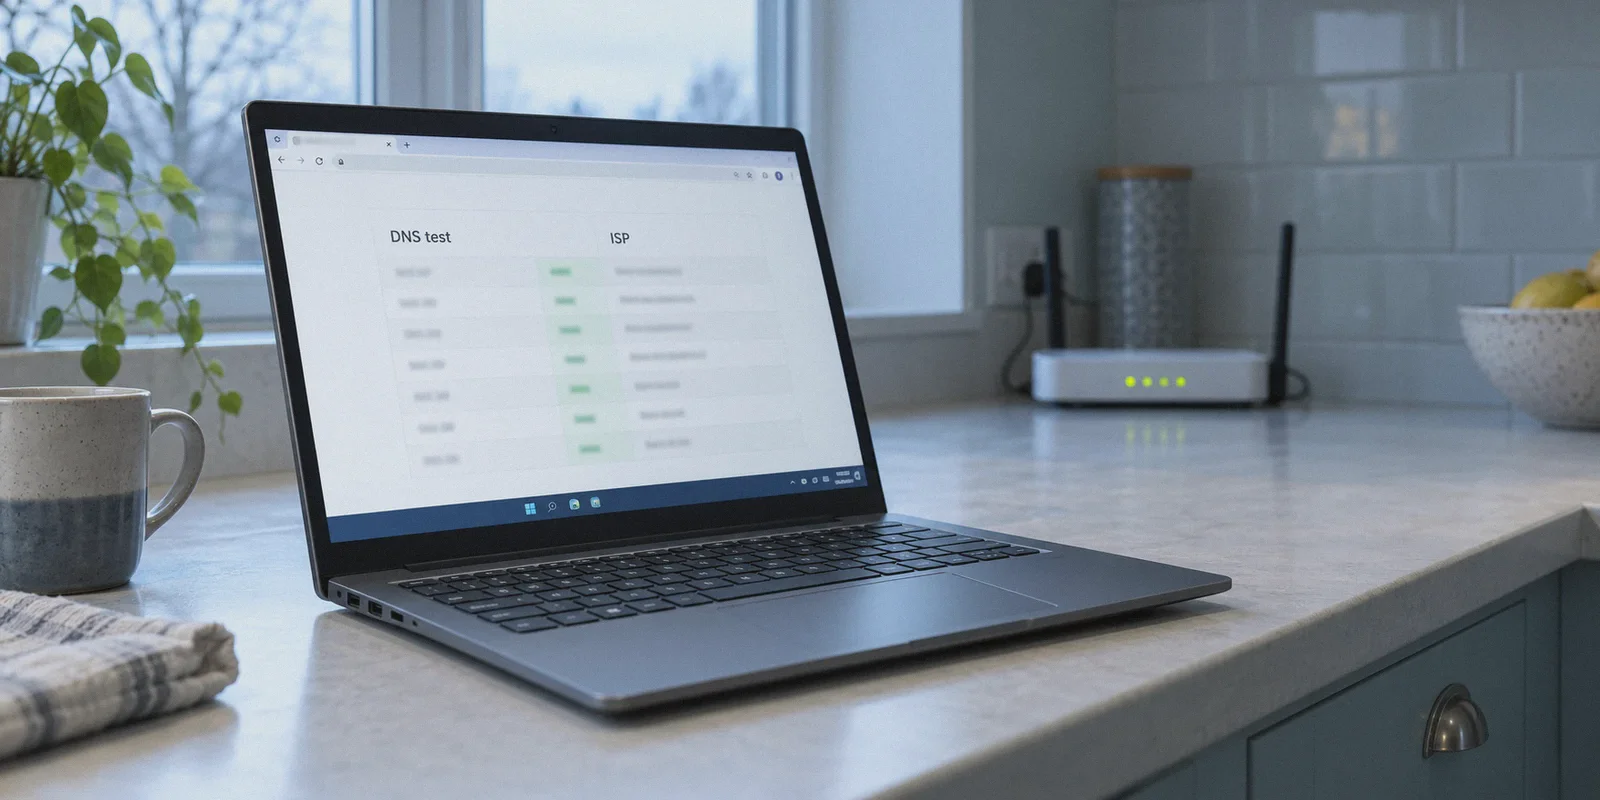
Then, out of curiosity, you run an extended test on dnsleaktest.com. Five seconds later, your stomach drops.
Right beneath the VPN server details, there it is: two or three query lines pointing directly to your local ISP—Comcast, Spectrum, BT, Vodafone, or Deutsche Telekom.
Your IP address might say Switzerland, but your computer is quietly handing your entire browsing history straight to your local internet provider. That is a DNS leak, and on Windows, it happens far more often than most people realize.
Here’s the frustrating part nobody mentions in generic troubleshooting guides: in 90% of cases, your VPN isn't even broken. Windows is designed to do this on purpose.
Below, we’ll run through the 30-second test to see if you’re leaking right now, unpack why Windows actively works against your VPN, how to fix it manually, and how to lock down your network so it never happens again.
Article summary and product fit
How can you tell whether Windows is leaking DNS outside the VPN, and what does the article recommend fixing?
Start by running an extended DNS leak test while connected to the VPN. The article treats any resolver tied to the normal ISP or home region as a leak, then traces common Windows problems to multi-adapter DNS behavior and IPv6 paths. It covers manual adapter and Group Policy changes, but argues that a VPN client that owns DNS routing and handles adapter changes is the more durable approach.
Key points and limitations
- Best for: Windows 10 or Windows 11 users whose visible IP changes with the VPN but whose DNS test still shows the local ISP or home-region resolver.
- Manual checks and fixes: The article walks through an extended leak test, disabling IPv6 on the active adapter, changing Smart Multi-Homed Name Resolution policy where available, and flushing the DNS cache.
- Where OnlyDogs fits in this article: It is presented as an automatic client-level approach that routes DNS through the VPN, filters unwanted domains, and protects adapter transitions without repeated manual tweaks.
- Important limit: Windows editions and network profiles differ, and updates or adapter changes can alter behavior. Re-test after major network changes rather than assuming one configuration remains permanent.
Sources already referenced on this page: DNSLeakTest; OnlyDogs VPN official website.
Step 1: The 30-Second DNS Leak Test
Before tweaking any settings, let’s confirm whether your machine is actually leaking.
- Turn on your VPN and connect to any server outside your home country.
- Open an incognito browser window and go to dnsleaktest.com.
- You will immediately see your apparent IP address and location. Don’t stop there—click Extended Test.
- Watch the progress bar as the site tests around 36 randomized subdomains.
How to Read the Results
- Clean (No Leak): Every single IP address in the final list belongs to your VPN provider’s datacenter or a neutral DNS resolver (like Cloudflare or Quad9). None of the ISP names match your home internet provider.
- Leaking: You spot even one single row showing your local internet provider’s name, city, or country. If you live in London and connected to an Amsterdam VPN server, but Virgin Media appears in the test table, your DNS requests are slipping through unencrypted.
Why Windows Deliberately Leaks Your DNS
Most people assume a VPN acts like an airtight pipe: once turned on, all internet traffic gets forced through the pipe.
On Windows 10 and Windows 11, Microsoft had a different priority: speed.
Starting in Windows 8, Microsoft introduced a feature called Smart Multi-Homed Name Resolution (SMHNR). When you try to load a website, Windows doesn't just ask your VPN’s DNS server. To shave off a couple of milliseconds, it sends DNS queries across every active network adapter simultaneously—your physical Wi-Fi card, your Ethernet port, and your virtual VPN adapter.
Whichever adapter responds first gets used.
Because your local home router is sitting three feet away, your local ISP’s DNS resolver will almost always answer faster than an encrypted VPN server located three states or two oceans away.
Windows gets its answer faster, pats itself on the back, and in the process, broadcasts the exact website you're visiting across your unencrypted local connection.
Add to that IPv6 leaks—where your VPN tunnel only encrypts traditional IPv4 traffic while Windows routes modern IPv6 packets outside the tunnel—and you end up with a system that leaks data by default unless your VPN client takes aggressive control of the network stack.
The Manual Fixes (And Why They’re a Headache)
If you want to patch this on your current setup, here is what you have to do manually inside Windows:
1. Disable IPv6 on Your Network Adapter
Since many VPN protocols don’t properly encapsulate IPv6, disabling it forces Windows to stick to the encrypted IPv4 tunnel:
- Press
Win + R, typencpa.cpl, and hit Enter to open Network Connections. - Right-click your active Wi-Fi or Ethernet adapter and select Properties.
- In the list, uncheck Internet Protocol Version 6 (TCP/IPv6).
- Click OK and restart your browser.
2. Disable Smart Multi-Homed Name Resolution via Group Policy
(Available on Windows 10/11 Pro, Enterprise, and Education)
- Press
Win + R, typegpedit.msc, and press Enter. - Navigate to:
Computer Configuration > Administrative Templates > Network > DNS Client.
- In the right pane, find Turn off smart multi-homed name resolution.
- Double-click it, set it to Enabled, click Apply, and restart your PC.
(If you are on Windows Home edition, gpedit.msc isn't available, requiring you to manually edit Registry keys under HKEY_LOCAL_MACHINE\Software\Policies\Microsoft\Windows NT\DnsClient—a process where one wrong keystroke can mess up your network stack.)
3. Flush the DNS Cache
Once you make these changes, clear out any saved lookup data:
- Open Command Prompt as Administrator.
- Run:
ipconfig /flushdns.
The Catch with Manual Fixes
These manual steps work—until they don't.
Whenever Windows installs a cumulative monthly update, it frequently resets adapter configurations back to default. If you switch from home Wi-Fi to a coffee shop network or tether to your phone’s mobile hotspot, Windows creates a new network profile that inherits default multi-homed resolution behavior.
You find yourself re-running leak tests and digging into network properties every few weeks just to be sure your privacy hasn't quietly evaporated.
The Permanent Fix: Use a Client That Locks Down DNS at the Adapter Level
The real solution shouldn't require you to act as your own network administrator. A properly engineered modern VPN handles Windows' quirks automatically: it intercepts DNS queries at the kernel level, shuts down competing adapters, and drops any unencrypted packet that tries to escape.
This is where OnlyDogs VPN takes a completely different approach from standard, legacy VPN apps.
Instead of relying on generic open-source protocols that leave DNS routing up to the mercy of Windows' native resolver, OnlyDogs builds its core around airtight traffic encapsulation:
- DNS & Node-Level Integrated Filtering: OnlyDogs doesn't just change your IP address; it routes all DNS lookups directly into its proprietary resolver network. The app enforces a strict DNS sinkhole that blocks queries from bypassing the tunnel, completely neutralizing Windows’ Smart Multi-Homed Name Resolution without touching your Registry.
- Built-in Ad & Tracker Interception: Because OnlyDogs controls the DNS resolution path from end to end, it filters out advertising networks, telemetry trackers, and malicious domains before they even hit your browser. You get clean, stripped-down web pages and a live block counter showing what was stopped.
- HTTP/3 & Proprietary Obfuscated Tunnel: Standard OpenVPN and WireGuard connections can be recognized and inspected by local network filters, which can trigger protocol fallbacks and accidental leaks. OnlyDogs encapsulates traffic using modern HTTP/3 protocols, making your encrypted traffic look like standard, unflagged web traffic.
- Weak-Network & Adapter Reconnection Shield: If your laptop hops between 2.4 GHz and 5 GHz bands, wakes up from sleep mode, or switches from Ethernet to Wi-Fi, OnlyDogs recovers the connection in milliseconds. Crucially, it prevents data packets from leaking through the unencrypted local interface during that handoff window.
- Zero-Hassle Scenario Presets: You don't have to navigate through menus debating MTU sizes, TAP vs. TUN drivers, or DNS fallback checkboxes. You launch the app, hit your preset, and the software handles the adapter routing automatically.
👉 Download OnlyDogs VPN for Windows and run leak-free
3 Quick Habits to Keep Your Windows Connection Airtight
Once you have a VPN that actually seals your DNS, keep these simple operational rules in mind:
- Connect Before Launching Sensitive Apps: Never open your torrent client, work portal, or private browser session first and turn on the VPN second. Windows caches initial DNS queries locally; if the initial lookup happened on raw Wi-Fi, your ISP already logged the destination.
- Disable "Secure DNS" in Chrome/Edge If Conflicts Occur: Modern browsers have a feature called "DNS over HTTPS" (DoH). If set to a custom third-party provider, it can occasionally fight with your VPN's local routing. Letting your system-level VPN client handle all DNS requests keeps your routing clean and unified.
- Run a Monthly Health Check: Every few weeks, make it a habit to hop onto
dnsleaktest.comand run an extended test. It takes twenty seconds and confirms that a recent Windows update hasn't tampered with your network adapters.
A VPN that leaks your DNS is like a locked front door with the living room window wide open. You get the illusion of privacy, but anyone looking can still see exactly what's going on inside.
Don't spend your time fighting Windows Registry keys or hoping Microsoft's networking algorithms play nice. Grab a tool built to enforce clean, leak-proof routing by design.
Fire up OnlyDogs VPN, run the extended test, and make sure the only server names that ever show up are the ones you actually chose.
Frequently Asked Questions
How do I know if my Windows VPN is leaking DNS?
Connect the VPN, run an extended test on DNSLeakTest, and inspect the resolver list. The article treats any result tied to the normal ISP, city, or home region as evidence that DNS requests are escaping the intended VPN path.
Why can Windows send DNS outside the VPN?
The article attributes many cases to Smart Multi-Homed Name Resolution and multiple active adapters, where Windows can query more than one path and use the fastest response. It also calls out IPv6 traffic that is not carried by some VPN tunnels.
What manual fixes does the article recommend?
It covers disabling IPv6 on the active adapter, turning off Smart Multi-Homed Name Resolution through Group Policy on supported Windows editions, and running ipconfig /flushdns after changing the settings.
Why does the article prefer a client-level DNS fix?
Manual settings can change after Windows updates, new Wi-Fi profiles, sleep/wake events, or adapter switches. The article therefore favors a VPN client that enforces DNS routing and handles network transitions automatically.