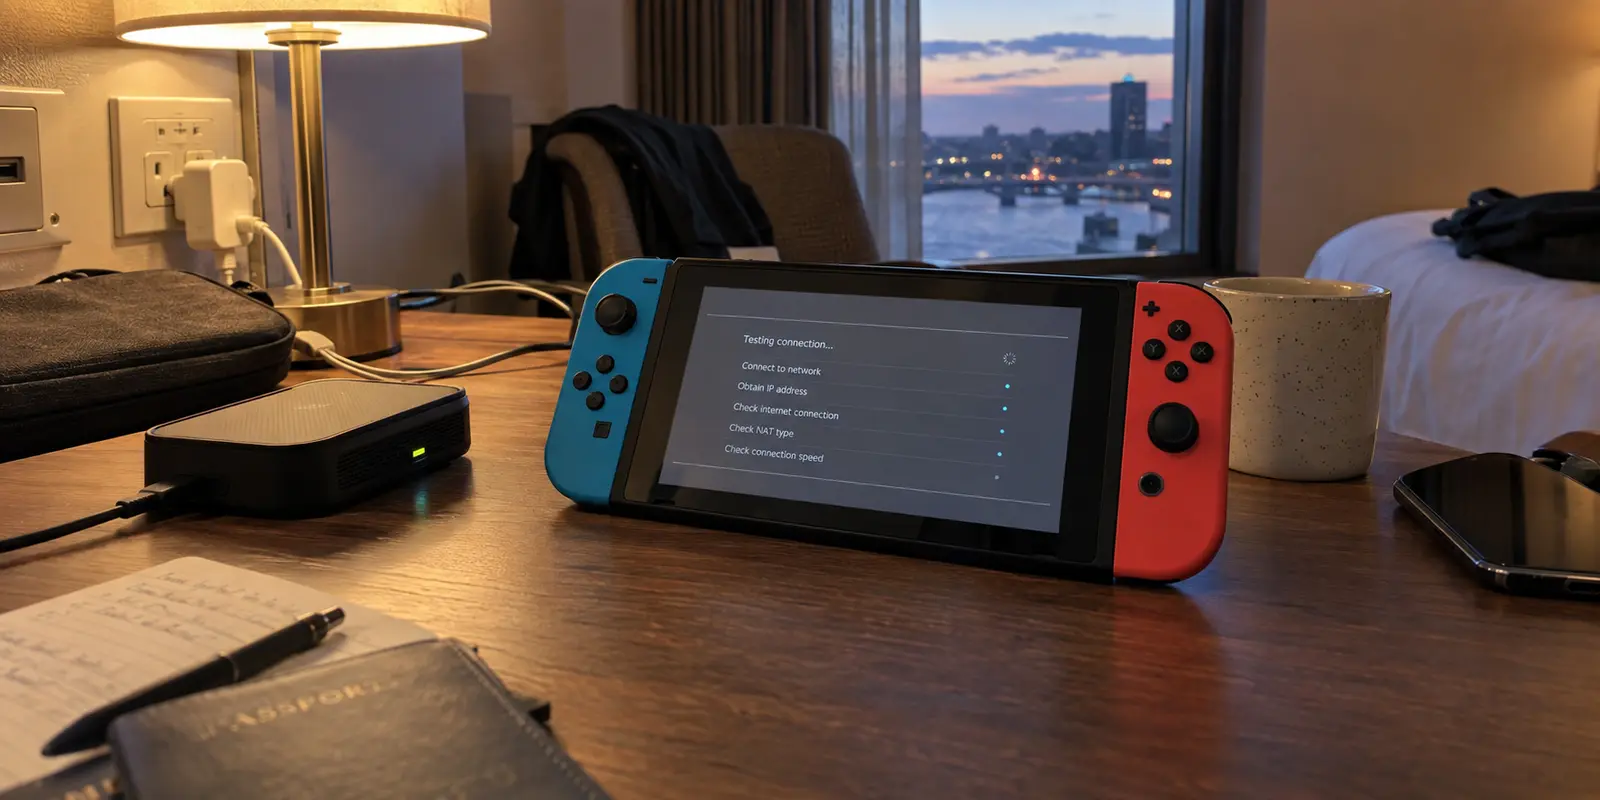
The most common mistake when traveling with a Nintendo Switch is assuming the goal is to keep a VPN running 100% of the time.
It is an intuitive trap. You buy a pocket-sized travel router, configure your VPN credentials, watch the admin dashboard light up with a reassuring green status, and assume your console is fully optimized for hotel internet. Then you fire up Mario Kart or Super Smash Bros., only to be met with endless matchmaking timeouts, crippling latency, or a restrictive NAT error.
The most reliable Switch travel setup is not “VPN always on.” It is an architecture that gives your console two distinct paths: a VPN route for when you need privacy, public IP masking, or a way around shared network throttling; and an immediate direct route for when peer-to-peer multiplayer demands the cleanest possible local connection.
Once your router handles the heavy lifting, toggling between these paths takes seconds—without ever touching the network settings on your Switch.
Article summary and product fit
How should you run a Nintendo Switch through a VPN while traveling?
Use the travel router as the VPN client, but keep an immediate direct-WAN path for the Switch. Finish the hotel captive-portal login before enabling the tunnel, then use the Switch connection test to decide whether the VPN route or the direct route gives you the better NAT type and matchmaking result.
What matters here
- Best for: Travelers using a Nintendo Switch behind a travel router on hotel, rental, or airport networks.
- Key point: A VPN can help with privacy, filtering, or a blocked network, but it can also add latency or worsen NAT; the article recommends testing both routes instead of forcing the VPN on all the time.
- Product fit: OnlydogVPN is a secondary laptop-gateway option in this article, not the default router setup, because the article says its current apps target iOS, Android, macOS, and Windows rather than native router configuration profiles.
- Important limit: Changing VPN exits does not change the Nintendo eShop country; the article points to the Nintendo Account country setting for that.
For verification, this article links to: Nintendo Support on changing eShop country, and OnlydogVPN official website.
Put the VPN Upstream of the Switch
Your Nintendo Switch does not need to understand what a VPN is, and you should never waste time trying to force it to run one directly.
Nintendo provides basic manual network controls on the console—IP allocation, DNS servers, proxy settings, and MTU adjustments—but native VPN software does not exist on the platform. The only clean, durable way to put a Switch behind a secure tunnel is to place the VPN upstream on your network:
Internet → Travel Router (VPN Client) → Nintendo Switch
In this setup, your Switch connects to the travel router as an ordinary Wi-Fi client. The router handles the encryption, routes the data packets, and decides whether the console’s traffic exits through the secure tunnel or straight out to the local hotel line.
Before you pack your bags, confirm two hardware requirements at home:
- Your travel router must function as an active VPN client (not merely a VPN server intended for remoting into your home). Popular travel routers from brands like GL.iNet and TP-Link support client-mode routing out of the box.
- Your VPN provider must supply manual configuration files or router credentials (such as WireGuard or OpenVPN profiles) that can be imported directly into router firmware.
Having a polished VPN app on your iPhone or Windows laptop means nothing if the provider does not give you raw configuration files to paste into your router. Verify this upfront so you are not stranded in a hotel room with mismatched gear.
Build VPN and Direct Modes Before the Trip
The secret to a frustration-free travel setup is avoiding an all-or-nothing tunnel. You do not want the router forcing every byte of traffic from every connected device through the VPN, because when a game lobby refuses to connect, your only choice would be tearing down the entire network.
Instead, build policy-based routing on the router while you are still on your home network:
- Identify the Switch: Power on your console, navigate to System Settings → Internet, and note the System MAC Address.
- Assign Device-Level Policies: In your travel router’s admin interface, open the client list. Using the MAC address, label your Switch clearly.
- Configure Client-Based Routing: Most modern travel firmware allows policy routing based on the client device. Set up a rule where your Switch can be directed through the VPN interface with a single toggle, while preserving an instant fallback to direct WAN (the standard hotel internet).
- Mind the Kill Switch: If your router has a global VPN kill-switch feature, understand the trade-off. A kill switch blocks all traffic if the tunnel drops—vital for sensitive work laptops, but annoying for a console if you just want casual connectivity. If you want the option to seamlessly drop back to the standard connection, configure the fallback behavior to allow direct WAN traffic when the VPN is toggled off.
The payoff is operational speed. If a game fails to connect abroad, you will not have to reconfigure Wi-Fi passwords or tinker with console settings. You simply flip one switch in your router dashboard to route the Switch directly to the local connection.
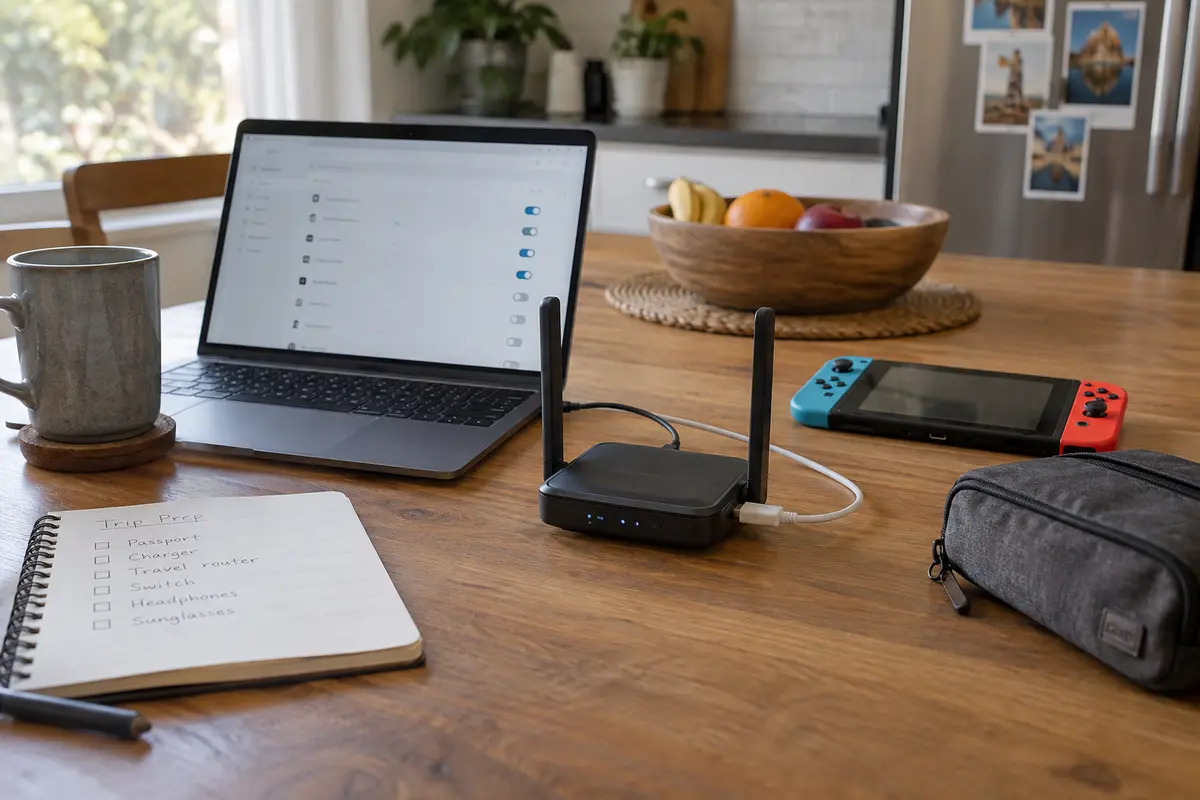
At the Hotel, Get Ordinary Internet Working First
When you check into a hotel, rental, or airport lounge, the arrival routine must be methodical: get standard internet working completely before you initiate the VPN.
Shared lodging networks almost universally rely on captive portals—those splash pages asking for your room number, last name, or acceptance of terms of service. If you boot your travel router with the VPN client set to auto-connect immediately, the router will try to establish an encrypted tunnel before the hotel has granted it access to pass traffic. The captive portal will fail to resolve, the VPN handshake will time out, and your entire connection will stall.
Make your check-in sequence deliberately simple:
- Power on the travel router and have it join the hotel’s public Wi-Fi via its admin console.
- Connect your phone or laptop to the travel router’s private Wi-Fi network.
- Open a browser on your phone or laptop to trigger and complete the hotel’s captive portal login. (If the page stalls, verify that the router’s VPN and custom DNS protections are temporarily disabled).
- Once your phone can load standard web pages normally, turn on your travel router’s VPN client.
- Wake your Switch. It connects automatically to the travel router’s familiar private SSID, completely oblivious to the hotel portal.
(Note: If a hotel portal uniquely ties authorization to your smartphone’s MAC address rather than allowing downstream devices, use the travel router’s built-in MAC cloning feature to clone your phone’s address. It is a handy troubleshooting trick, though rarely required on modern hotel networks.)
Prove the VPN on the Switch—and Check NAT Before You Play
Never trust a green “Connected” light on your router dashboard as proof that your gaming session will be smooth. The definitive diagnostic tool is sitting right in your hands.
Wake your Switch, head to System Settings → Internet → Test Connection, and review the results:
Global IP Address. Direct Hotel Route: Hotel ISP IP Active VPN Route: VPN Server IP Diagnostic Takeaway: Confirms the tunnel is actively carrying console traffic.
NAT Type. Direct Hotel Route: Typically B or C Active VPN Route: A, B, C, or D Diagnostic Takeaway: Determines peer-to-peer multiplayer compatibility.
Download / Upload. Direct Hotel Route: Local raw speed Active VPN Route: Encrypted speed Diagnostic Takeaway: Verifies sufficient overhead for game assets and patches.
The most critical field for online play is NAT Type.
Nintendo grades NAT from A through F. NAT Type A is the gold standard for peer-to-peer matchmaking, Type B is generally compatible with most lobbies, while Type C or D will severely restrict your ability to host or join other players.
While a VPN can occasionally rescue you from an aggressive, heavily filtered hotel firewall, sending your connection through an extra intermediary node frequently introduces a more restrictive NAT type or adds unavoidable packet latency. Furthermore, ignore the marketing myth that a VPN magically reduces gaming ping across the board; inserting an encryption hop across external data centers almost always adds physical distance and overhead.
Your Rule of Thumb: Run the test through the VPN. If your Global IP changes, your NAT Type remains an A or B, and matchmaking works smoothly, keep the VPN active. But if you see NAT Type D, or if matchmaking starts dropping lobbies, immediately switch that profile back to Direct Mode.
(Pro-tip for docked play: If you travel with an OLED dock or a USB-to-Ethernet adapter, plugging your Switch directly into your travel router’s LAN port eliminates local wireless interference in crowded hotel environments, giving both VPN and direct routes a cleaner baseline.)
Use the VPN for a Network Problem—Not Every Nintendo Problem
Understanding the boundary of what a VPN can and cannot fix will save you hours of unnecessary troubleshooting.
When to use VPN Mode:
- The hotel network blocks game servers, voice channels, or standard gaming ports.
- You are on an untrusted public network and want all console traffic encrypted out of an abundance of caution.
- You need your public IP to appear from a specific home region to bypass network-level geographical filtering.
When to use Direct Mode:
- You are dropping matches, suffering high packet jitter, or stuck on NAT Type C or D.
- You are downloading large game updates and want the hotel's raw unthrottled bandwidth without VPN encryption overhead.
When to Stop Changing Settings (The eShop Rule): Do not expect a VPN server change to swap your Nintendo eShop storefront. Nintendo ties the eShop region strictly to your Nintendo Account profile settings, not to your console’s apparent IP address.
If you need a different regional storefront, update your account country via Nintendo’s profile portal; endlessly swapping VPN server locations will only break your network connection while leaving your storefront unchanged.
A Note on Dedicated Travel Setups
If your travel router natively supports manual WireGuard or OpenVPN configurations, standard commercial privacy providers with router configuration files remain the cleanest drop-in solution.
However, if you find yourself stuck on a restrictive hotel network where you cannot load native router configurations, travel-oriented software like OnlydogVPN is another gateway option. OnlydogVPN currently targets dedicated client apps for iOS, Android, macOS, and Windows rather than native router configuration profiles, so the practical route here is to use a laptop as the gateway.
By running OnlydogVPN on a macOS or Windows laptop on a difficult captive network, you can share that secured connection through your travel router’s WAN port to your Switch. It requires packing a computer, so I would treat it as a secondary bridge rather than the default setup.
For next time
A well-configured travel router gives your Switch the best of both worlds: a secure, encrypted tunnel when public networks misbehave, and a zero-latency direct line when it is time to squad up online.
Do not obsess over keeping the VPN active at all costs. Set up both paths before you leave home, verify your NAT type before you queue for a match, and let the real-world connection quality dictate your route.
Frequently Asked Questions
Can the Nintendo Switch run a VPN app directly?
No. The article explains that the Switch has ordinary network controls but no native VPN software, so the durable setup is to place the VPN upstream on a travel router or another gateway.
Why should I complete a hotel captive portal before turning the VPN on?
Because the hotel must authorize ordinary internet access first. If the router tries to build the encrypted tunnel before that login is complete, the portal may not load and the VPN handshake can stall.
When should I switch the Switch from VPN mode to direct mode?
Use the direct route when the VPN produces a restrictive NAT type, dropped lobbies, higher jitter, or unnecessary overhead for a large download. Keep the VPN route when it solves a real network problem and the Switch connection test still shows acceptable NAT and performance.
Will changing VPN servers change my Nintendo eShop region?
No. The article states that the eShop storefront follows the country setting on the Nintendo Account, not the public IP address shown by the console.